

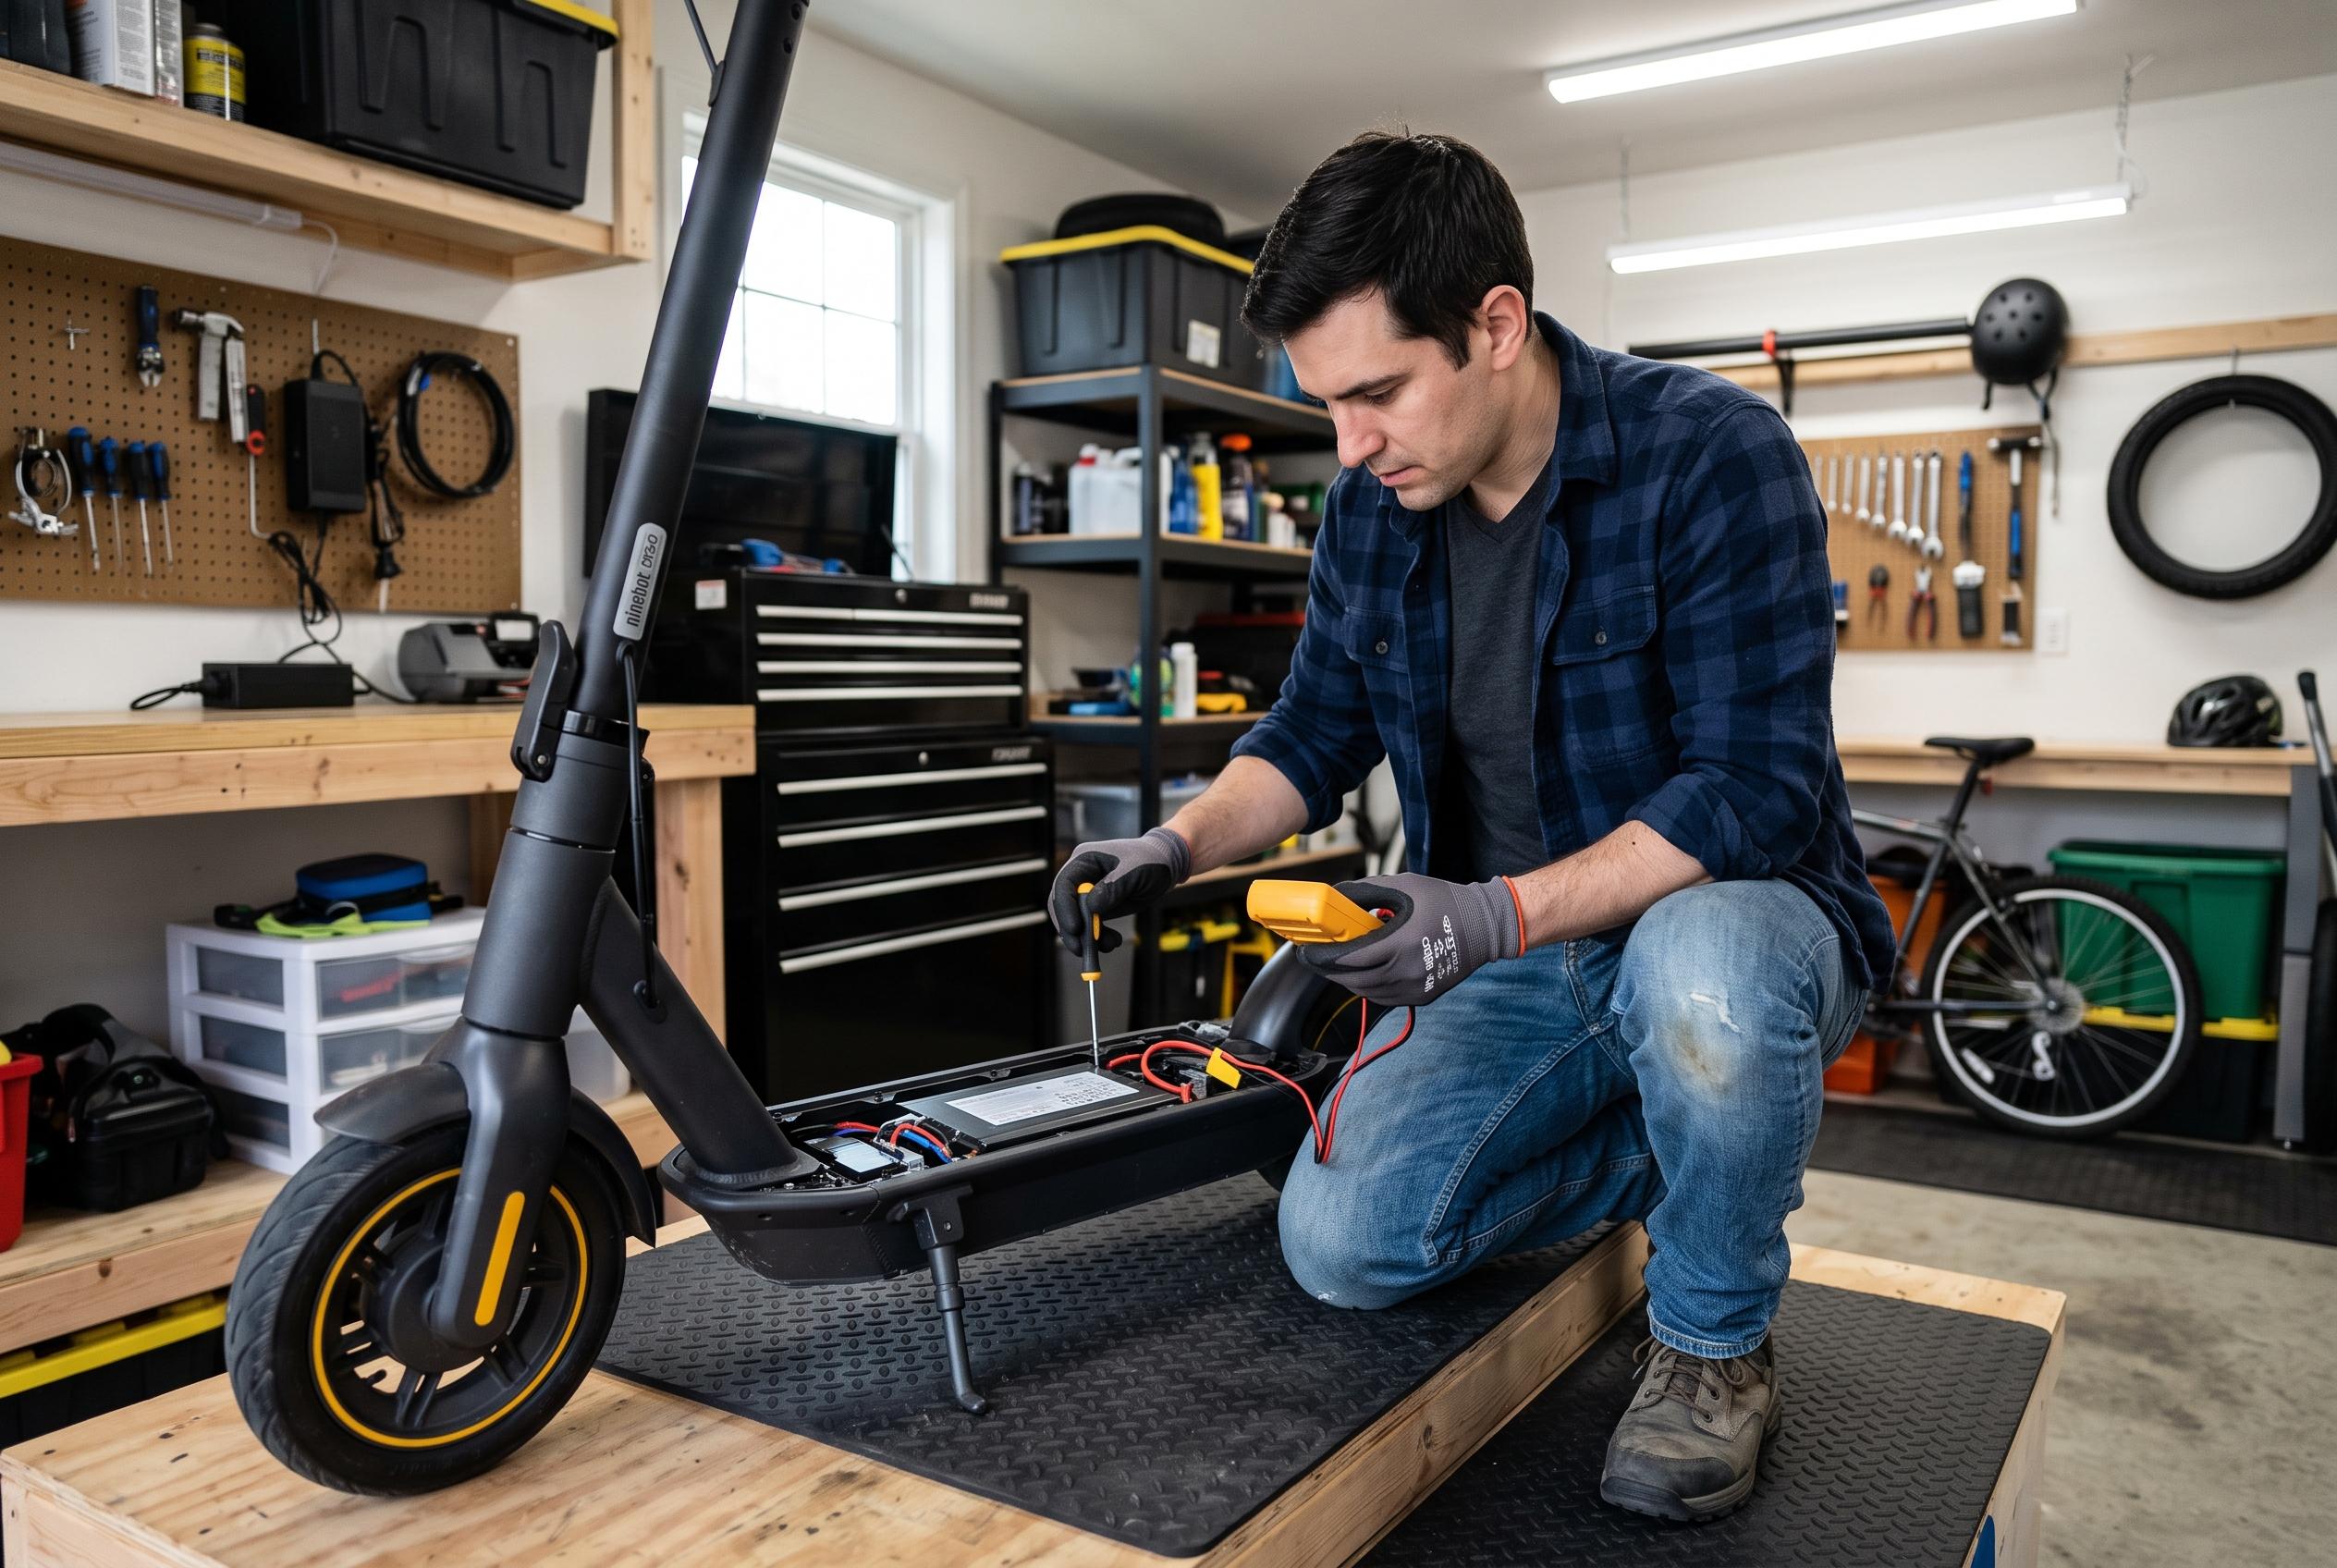

A step-by-step guide reveals that most electric scooter startup failures stem from simple faults such as depleted batteries, sensor issues, or loose wiring, with expert advice emphasising ease of home diagnostics before professional repair.
An electric scooter that will not power up is often suffering from a simple fault rather than a major failure. Apollo’s troubleshooting guide says the most common causes are a depleted battery, a safety interlock such as the brake lever or kickstand sensor, a lock mode setting or a controller problem. Similar advice from other repair guides points to the same pattern: check power supply first, then wiring, then software and control components before assuming the motor itself has failed.
Battery issues remain the first thing to rule out. Apollo says a lithium-ion pack can drop into protection mode through deep discharge, cold weather or age, which can leave the scooter appearing completely dead even when the cells are not empty. The company notes that batteries typically lose meaningful capacity after 300 to 500 full charge cycles, roughly 1 to 3 years of regular use, and that charging a cold pack immediately after outdoor storage can cause problems. Other troubleshooting guides also place the charger, charging port and fuse near the top of the diagnostic list.
If the display lights up but the scooter still does not move, the fault may be a lock setting, a brake sensor or kick-to-start mode rather than a hardware breakdown. Apollo says some newer models can only be unlocked through the app, while older versions still respond to the five-press button sequence. The company also warns that a depressed brake lever, a misadjusted sensor or an enabled kick-to-start setting can stop the motor from engaging at standstill. Related repair guides describe the same symptoms and recommend checking the brake levers, kill switch and park mode before opening the deck.
Controller faults, loose connectors and water intrusion are the next layer of concern. Apollo describes the controller as the scooter’s central power manager and says a failed unit can leave the machine unresponsive even with a healthy battery. The brand also recommends a 10-press calibration routine on some models, plus a swap test to help separate a motor fault from a controller fault. Other technical guides note that vibration can loosen wiring over time, while heat, dust and moisture can accelerate wear on electrical parts and connectors.
For riders trying to narrow the problem quickly, the practical sequence is straightforward: confirm charge, check the charger light, release both brake levers, retract the kickstand, inspect for visible wiring damage, verify lock status in the app and then test the motor calibration routine. Apollo says persistent error codes, a charger that flashes red and green, or a wheel that is hard to spin by hand are signs that professional repair may be needed. The broader lesson from the repair guides is that most startup failures are diagnosable at home, but battery, controller and water-damage cases are best handled carefully.
Disclaimer: This content is intended for informational purposes only. Readers are advised to exercise their own judgement, conduct due diligence, or consult a qualified expert before acting on any information provided.