

Understanding error code flashes on LiftMaster, Chamberlain, and Craftsman garage door openers reveals a nuanced approach to diagnosing faults, highlighting the importance of system-wide checks before replacing defective parts.
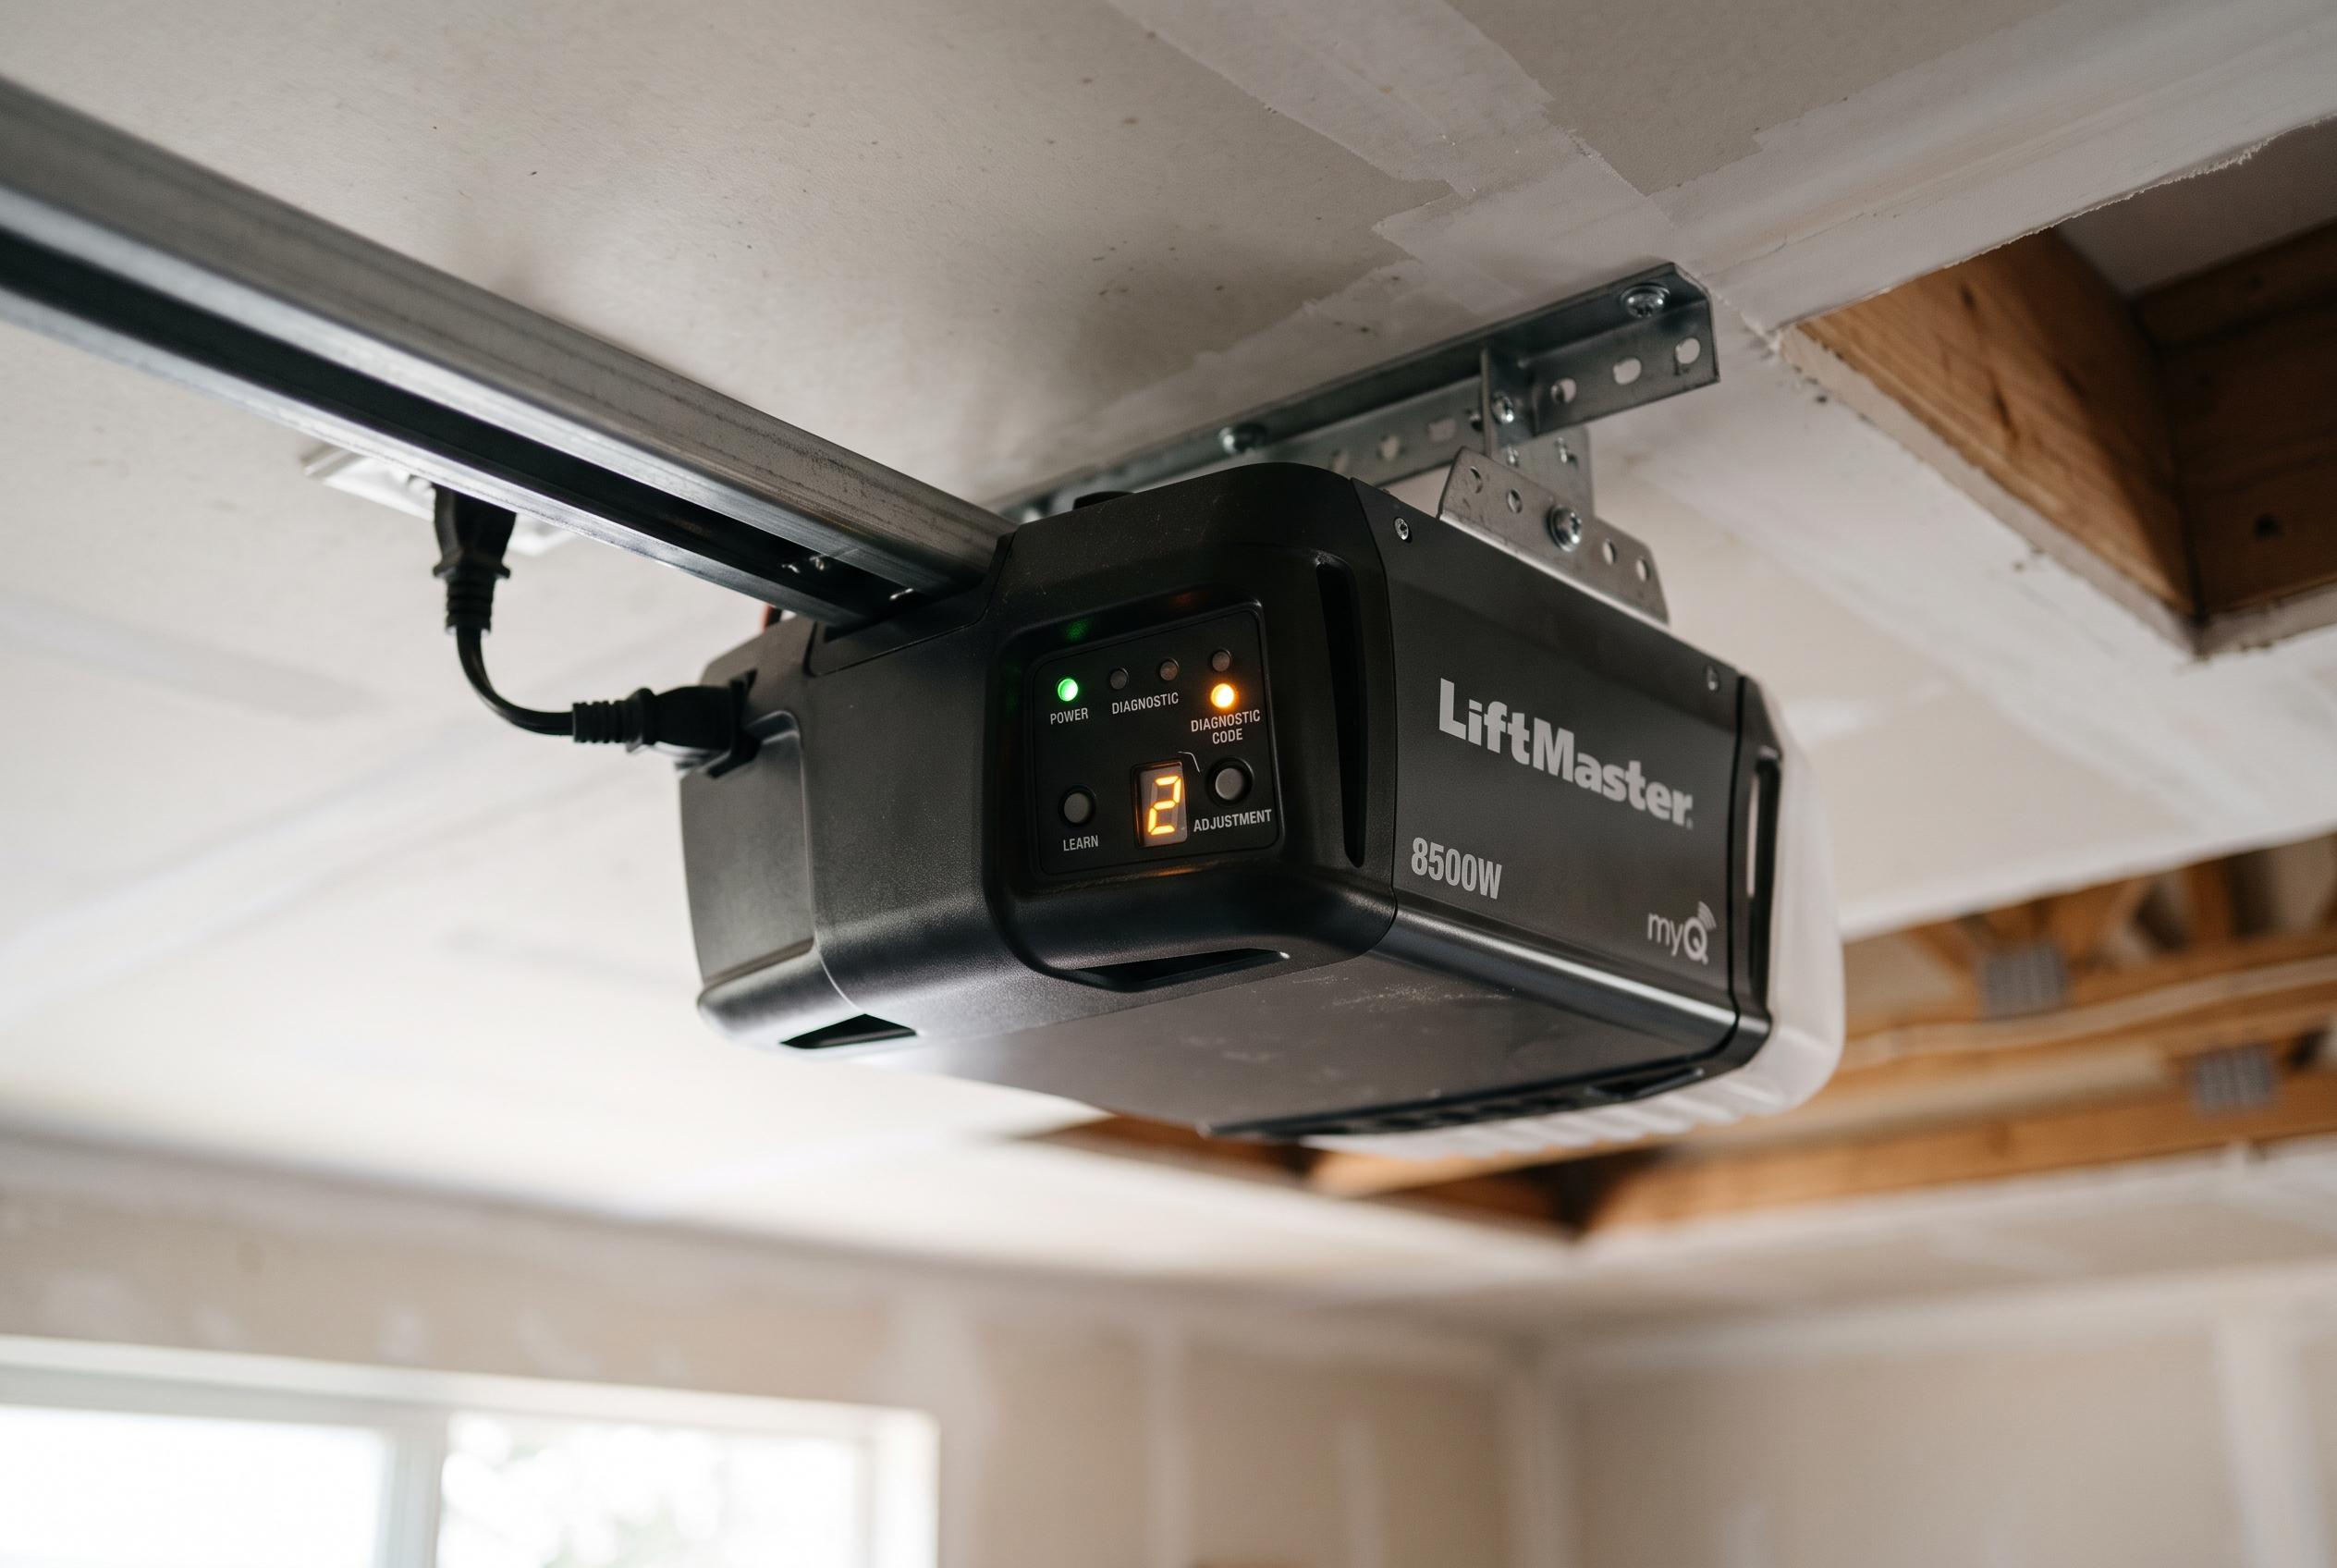
Garage door openers rarely fail silently. When a LiftMaster, Chamberlain or Craftsman unit with a yellow Learn button flashes its up and down arrows, it is reporting a fault in the system rather than naming a single failed part. The guide published by GarageDoorChamp focuses on Security+ 2.0 openers made between 2011 and 2025, while a separate colour guide from G Brothers Garage Doors notes that Learn button colour is a more reliable identifier than the manufacturing year alone.
The first step is to read the pattern before it disappears. The diagnostic display uses paired flashes: count the up-arrow, then the down-arrow, and repeat the sequence to confirm it. GarageDoorChamp and other troubleshooting guides stress that the code should be recorded alongside the door’s behaviour, such as closing and reversing, humming, or moving only a few inches. The door itself should also be checked before the opener is blamed, because a broken spring, bent track or binding roller can trigger the same warning.
Several early codes point to the safety sensors and their wiring. Code 1-1 indicates that the opener cannot detect the sensors, while 1-2 signals reversed or shorted sensor wiring. Code 1-3 relates to the wall-control circuit, and 1-4 shows the beam was briefly interrupted or misaligned. Universal remote instructions from Overhead Door and other repair guides reinforce the same basic checks: confirm power, inspect the low-voltage wiring, clean the lenses and make sure the sensors face one another.
Code 1-5 means the opener did not detect expected motor movement, and 1-6 means movement continued after the motor stopped. In practice, that can mean anything from a heavy or obstructed door to a travel-module fault, a trolley issue or a problem on the control board. GarageDoorChamp advises starting with the door’s balance and condition before moving to opener components, because a door that drifts, drops or binds can produce misleading readings.
The higher-numbered codes describe more specific failures. Codes 2-1 through 2-5 indicate an internal logic-board fault. Code 3-2 means the opener could not set or keep its travel position, while 3-3 points to excessive voltage in the battery-back-up circuit. Code 3-5 applies to wall-mounted models that cannot detect a cable-tension monitor. These faults are not fixed by repeated remote programming alone; they usually require power-cycling, model-specific setup or component testing.
The force-related codes are among the most important for safety. Codes 4-1 and 4-3 show excessive resistance or lost motor revolutions while closing, while 4-2 and 4-4 describe the same problem while opening. Code 4-6 is different: it means the opener received a close command while the sensors were already reporting a problem. GarageDoorChamp and Seaside Garage Door Experts both advise against increasing force settings to push a troubled door through resistance, because that can mask a spring, track or balance fault.
Code 4-5 points to the travel module, the device that monitors the door’s position and movement. If the opener runs only a short distance before stopping or reversing, the wiring harness, module or board may be involved. By contrast, code 5-5 is specific to models that need a programmed myQ Smart LED Light for unattended operation. GarageDoorChamp says the light must be compatible, powered and linked correctly, or the opener will refuse the command.
Sound can help narrow the fault. A click often means the opener received the command but could not start the next step. A short hum suggests power is present but the motor cannot turn. If the motor runs but the door does not move, the belt, chain, gear or trolley may be disconnected or damaged. These clues do not replace the code, but they can show whether the fault sits in the door, the drive system or the electronics.
The broader message across the repair guides is that an error code is a starting point, not a verdict. A failed opener board, sensor or travel module may indeed need repair, but a damaged door, broken spring or poor alignment can produce the same flashing pattern. Before replacing the opener, the system should be assessed as a whole, with the door, hardware and wiring checked in that order.
Disclaimer: This content is intended for informational purposes only. Readers are advised to exercise their own judgement, conduct due diligence, or consult a qualified expert before acting on any information provided.