

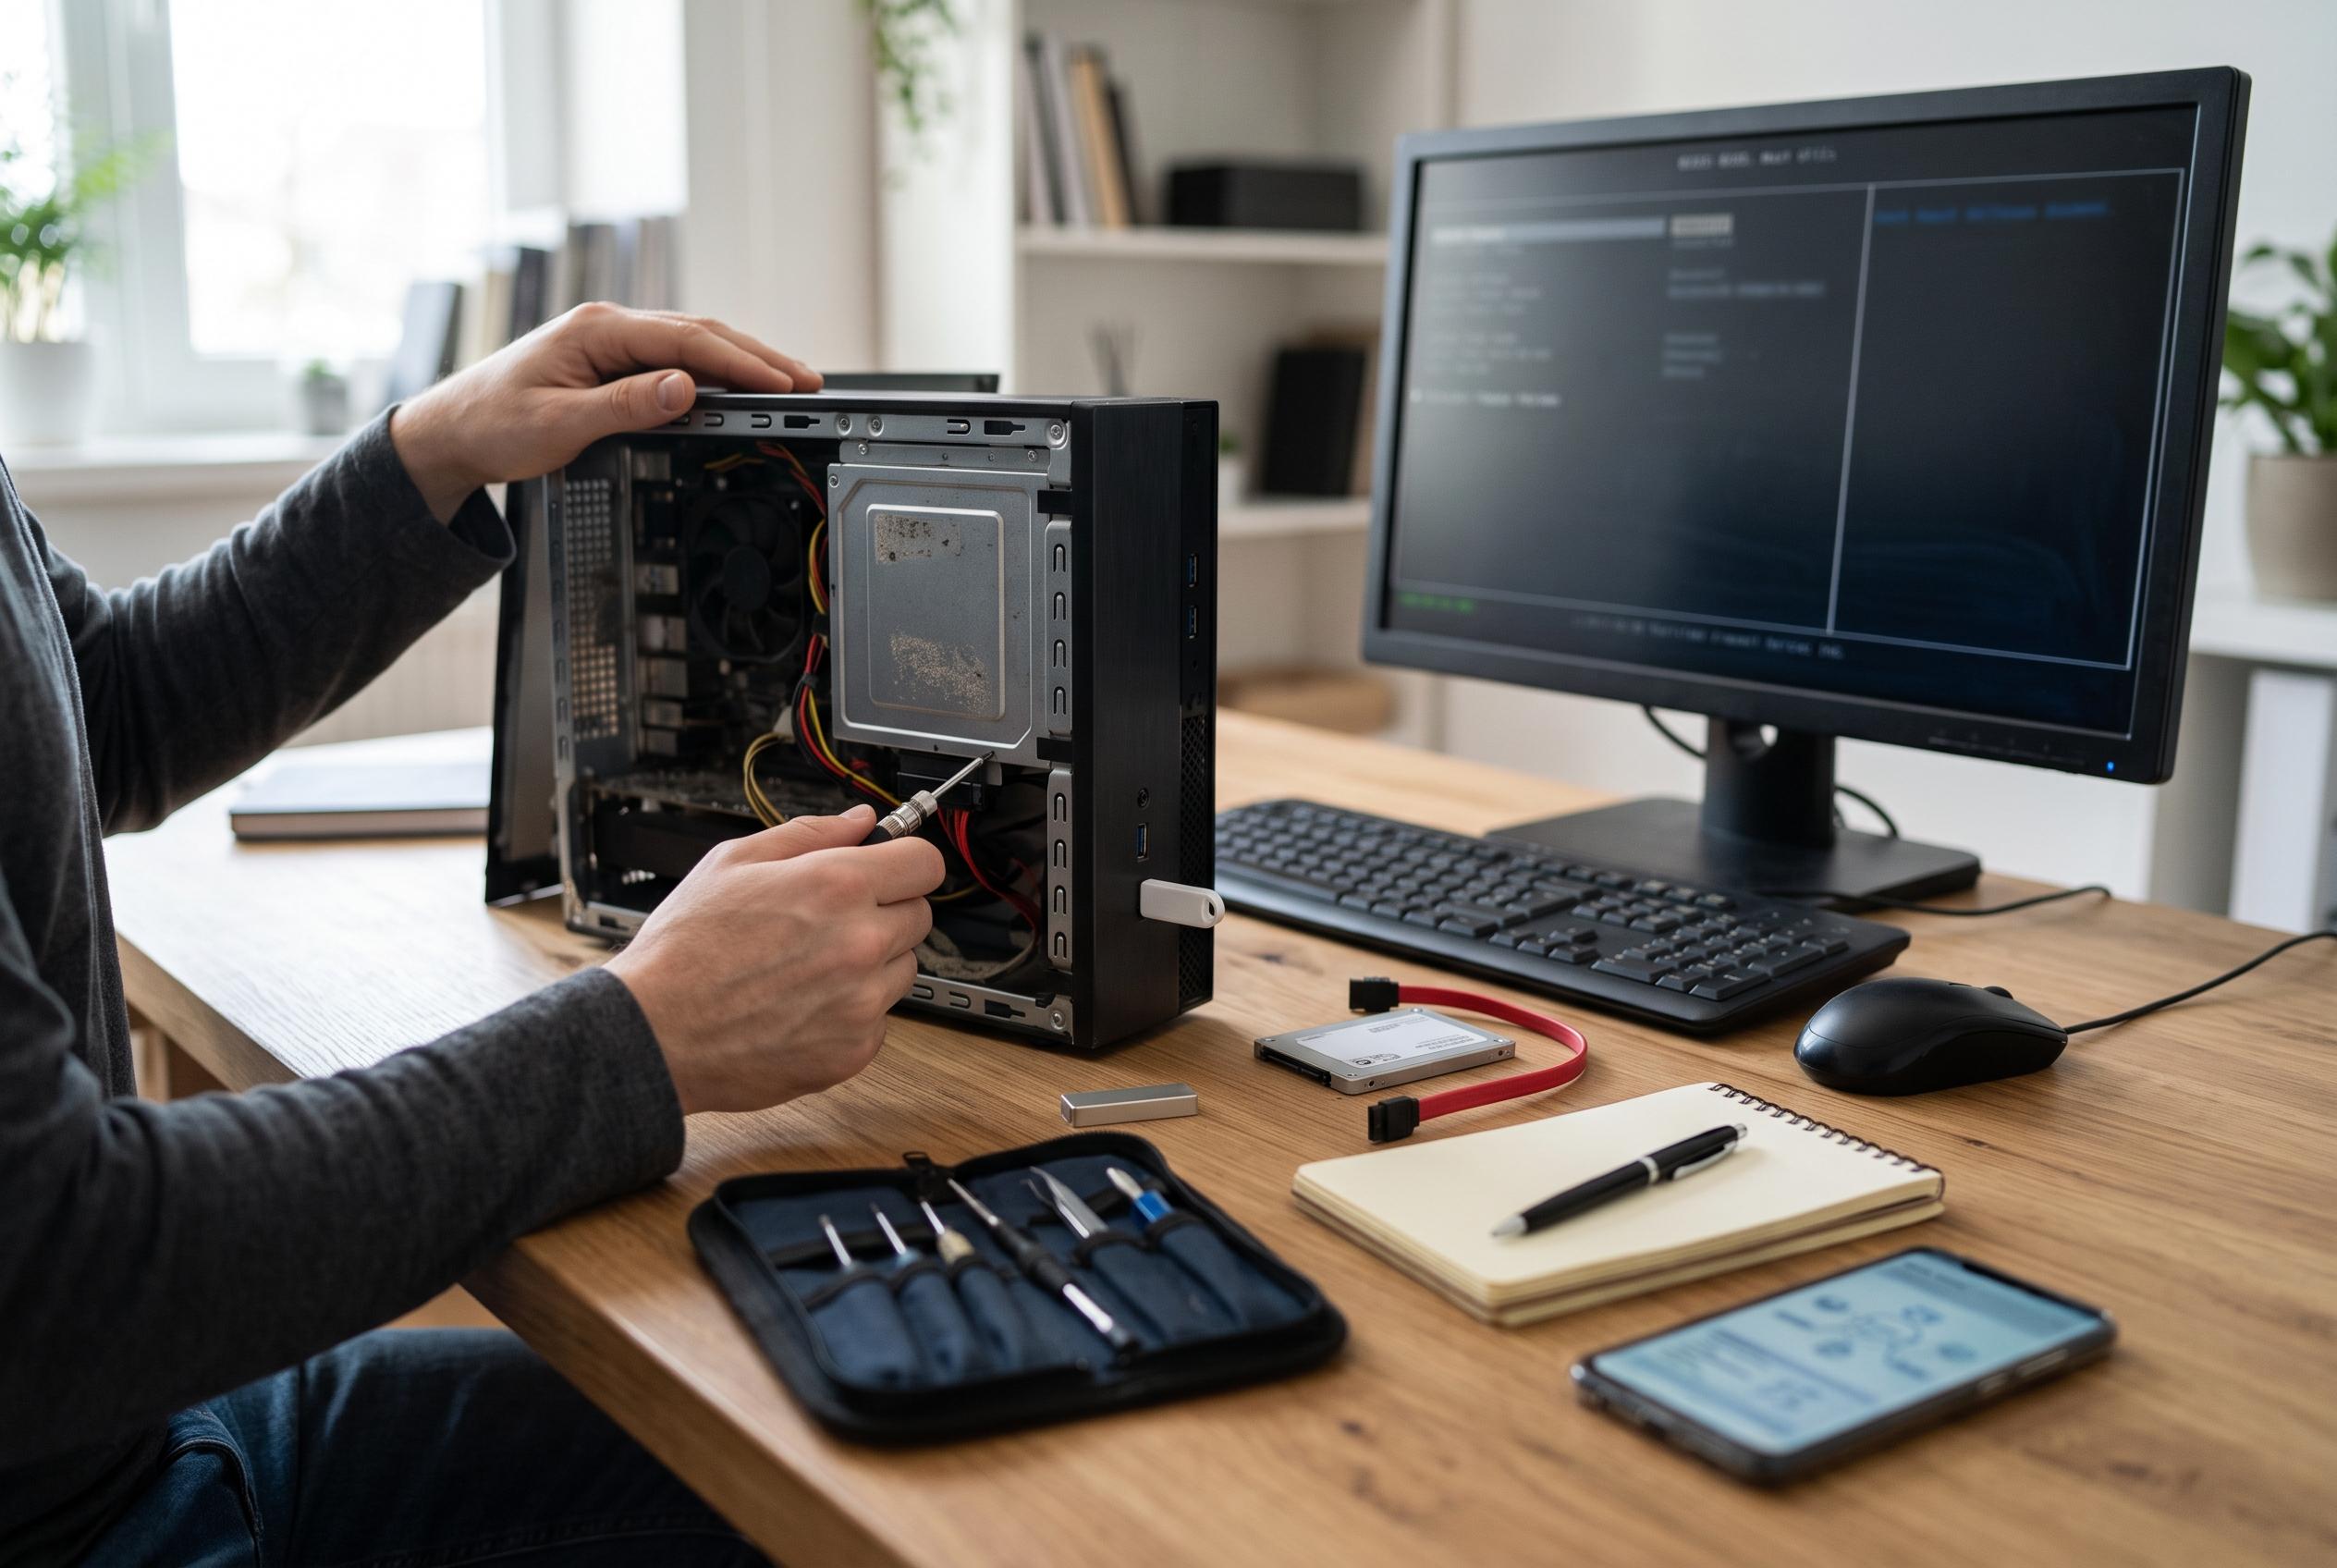

Learn effective steps to diagnose and resolve the persistent Windows automatic repair loop, from checking logs to repairing system files and disk health.
When Windows keeps dropping into Automatic Repair and ends with “The PC was not started correctly”, the machine is trapped in a boot loop. The key is to break that cycle first. Once Windows stops hiding behind the repair screen, it usually reveals the real fault: a damaged boot record, corrupted system files, a bad driver, a recent update, or failing storage.
Automatic Repair is triggered after several failed starts and is meant to correct simple boot problems on its own. It can only go so far, though. If the boot configuration is broken, system files are missing, or the disk is beginning to fail, the repair routine often collapses and restarts, creating the loop users see again and again. Windows Central and IT Pro both note that recent updates, driver faults and hardware issues are common triggers.
Before doing anything else, disconnect unnecessary peripherals such as USB drives, external disks, docking stations and card readers. If BitLocker is enabled, have the recovery key ready. Without it, some recovery steps can block access to the system drive.
All of the fixes run from the Windows Recovery Environment. If Automatic Repair is already looping, choose Advanced options. If not, force the machine off during startup three times in a row; on the next boot, Windows should open the recovery menu automatically. From there, go to Troubleshoot, then Advanced options.
The most useful first step is to read the repair log. Open Command Prompt and load the file at C:WindowsSystem32LogFilesSrtSrtTrail.txt in Notepad. The log often names the file, driver or boot component that caused the failure. If a driver is listed, the next move is usually Safe Mode so it can be removed. The drive letter may differ in recovery, so check which volume actually contains the Windows folder.
If the repair loop itself is masking the problem, it can be disabled temporarily with the BCDEdit command. That forces Windows to try a normal start and often exposes the underlying error more clearly. One outcome is a successful boot, in which case the repair loop was part of the problem rather than the whole cause. The other is a bluescreen with a stop code, which gives a more useful lead. The automatic repair feature can later be switched back on with the same command and “Yes” instead of “No”.
For corrupted Windows files, the standard offline tools are SFC and DISM. Microsoft’s documentation, as reflected in Windows Central’s guide to DISM, recommends using DISM to repair the Windows image and then SFC to replace damaged system files. In recovery mode, SFC scans the offline installation, while DISM repairs the source image that SFC depends on. Industrial Monitor Direct also points to this sequence for users stuck after Safe Mode file deletion. Running SFC again after DISM is often worthwhile if the first pass finds errors.
If the files are intact, the next suspect is the boot configuration database. The bootrec tools can rescan Windows installations and rebuild the boot data, which is often enough to restore a damaged startup path. Microsoft forum discussions and IT Pro both describe this as a common fix when Windows will not reach the desktop. More aggressive commands such as fixmbr and fixboot should be used cautiously, especially on multi-boot systems or machines protected by BitLocker.
Recent updates are another frequent cause. In the recovery menu, Windows can uninstall the latest quality update or, if needed, the most recent feature update. Start with the quality update, because it is smaller and less disruptive. If the machine boots afterwards, hold the update back until the cause is clear. System Restore is another option if restore points were enabled in advance; Windows Central notes that it returns the system to an earlier state without touching personal files.
If software fixes fail, check the disk itself. chkdsk can look for file-system errors and bad sectors, but it may take hours on large drives. If it reports serious disk damage or refuses to complete, back up data first. At that stage, the priority shifts from repair to recovery, because a dying SSD or hard drive will keep feeding Windows corrupted data on every start.
If none of that works, a clean installation may be the only realistic path. That still should not happen before data is saved. A non-starting Windows system often means the installation is broken, not that the drive is dead. After reinstalling, activation usually returns automatically if the licence is tied to the motherboard. On older devices, hardware support is also worth checking, since Windows 11 will not install on systems that lack TPM 2.0.
Disclaimer: This content is intended for informational purposes only. Readers are advised to exercise their own judgement, conduct due diligence, or consult a qualified expert before acting on any information provided.