
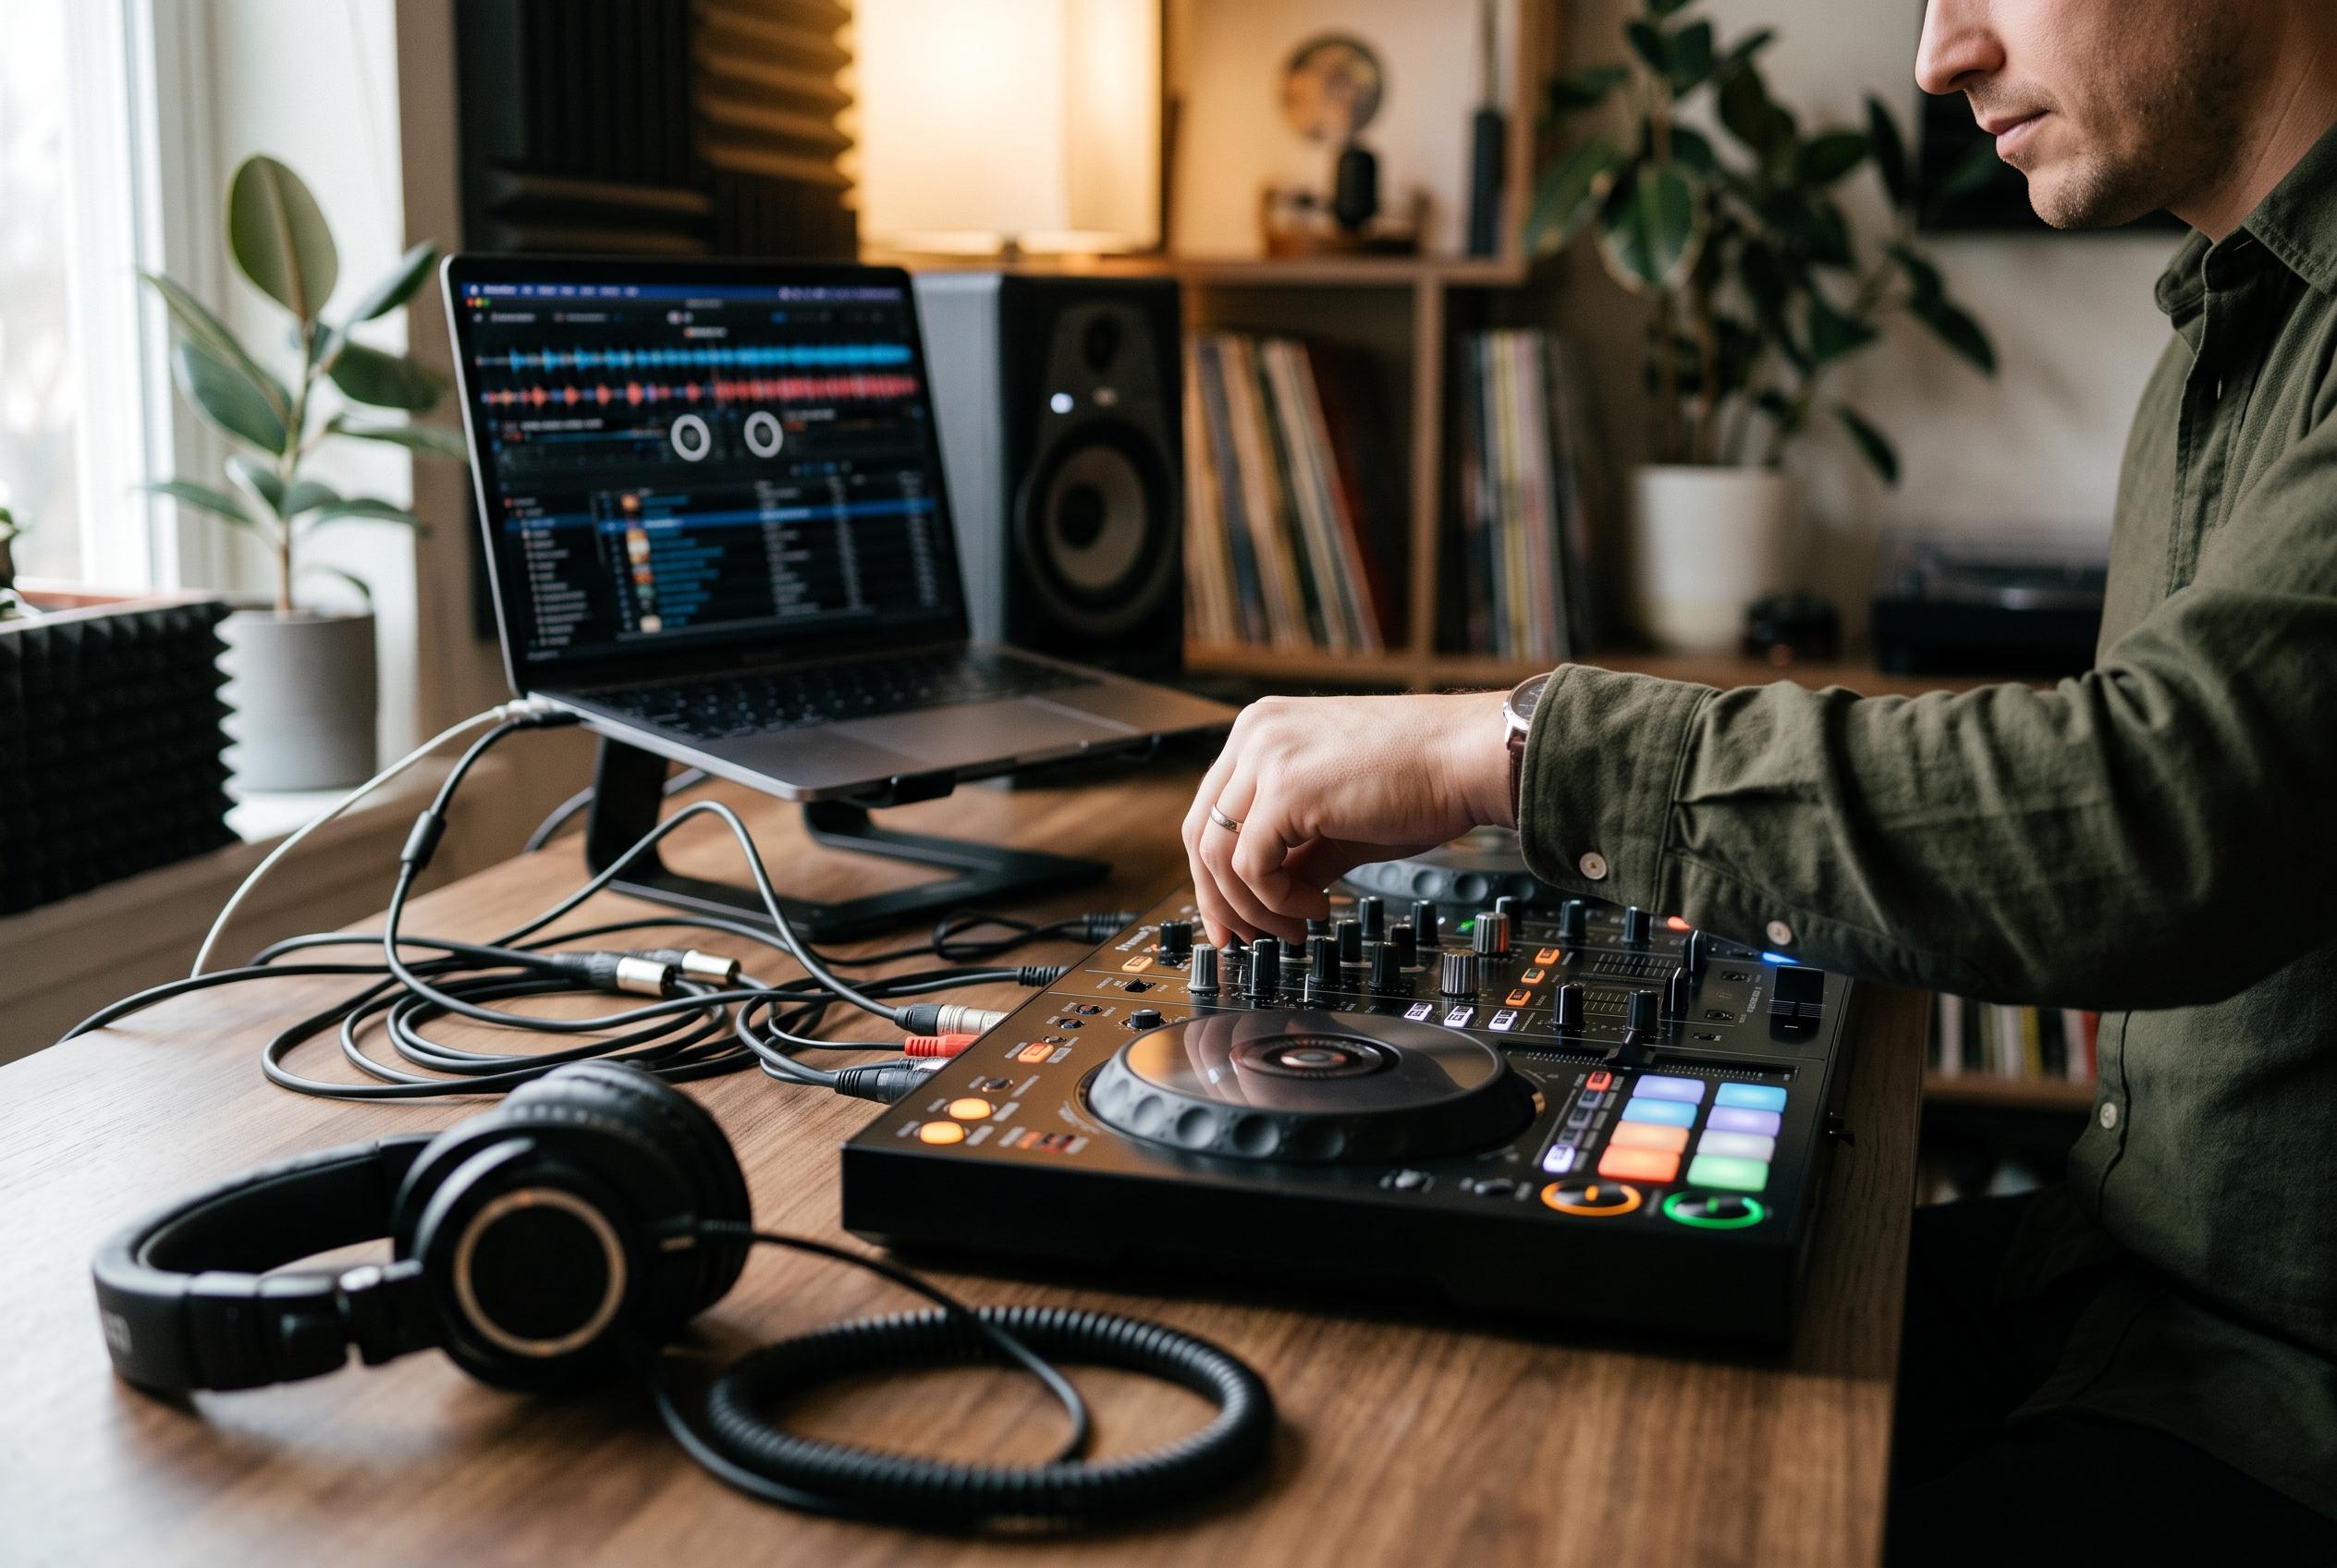

From routing speakers through the controller to setting cue points, these five checks can turn a frustrating first session into a smoother start behind the decks.
A new DJ controller can look deceptively simple at first glance: plug it in, load some tracks and start mixing. In practice, the first session is often less about creativity than configuration. The most common mistakes are basic ones, but they matter. If the audio path is wrong, the library is disorganised, the levels are mismatched or the cueing is confused, the controller will not behave as intended.
The first rule is to route sound through the controller itself rather than through the laptop. Sweetwater’s setup guides explain that this is not merely a preference but part of how a DJ controller is designed to function, with a built-in audio interface handling the master output and headphone cueing. Connecting speakers directly to the controller’s outputs keeps the signal path consistent and avoids the kind of level and routing problems that can arise when audio is sent elsewhere. Wireless speakers are still unsuitable for this job because DJ monitoring needs a wired, low-latency connection.
The next step is to get music properly into the software and organise it before mixing. DJ controllers do not work like older USB-based club setups; the music library normally lives on the computer and is managed inside the software. That means importing local files or logging into a streaming service within the programme, then building a playlist or crate for the session. Sweetwater notes that this is one of the most practical habits a beginner can adopt, because a focused shortlist of tracks keeps attention on mixing rather than file searching.
Level setting is another early task that prevents a great deal of frustration later. The trim, gain or level controls at the top of each channel are there to balance input volume before the channel faders are used for blending. A track that is too quiet will disappear in the mix, while one that is too hot may distort. The usual method is to play a loud section, watch the meters and raise the trim until the signal approaches red, then back it off slightly. The goal is to make both decks match so that fader positions produce predictable results. Auto-gain tools in most software can help, but they are no substitute for checking the meters manually.
Headphones are equally important, but not for listening to the main output. Their real value is in cueing: hearing the next track privately before the audience does. According to Sweetwater and The DJ Revolution, the cue button on the mixer channel routes that deck to the headphones so it can be checked, lined up and prepared. On controllers with a cue mix control, turning it fully towards cue isolates the pre-fade signal, while the headphone level knob sets the listening volume. This separation between booth monitoring and main output is central to live DJing, even in a home practice setup.
Finally, beginners need to become comfortable with the jog wheels and the cue button on the deck itself. Both Sweetwater and Digital DJ Tips describe the jog wheel as the simplest way to move through a track, whether it is playing or paused. The cue point is just as useful. It marks the start point for a track so it can be triggered on the first beat, which is especially helpful when a song opens with silence or ambience. In most DJ software, Shift plus Cue returns the track to the beginning, after which the jog wheel can be used to locate the first beat and set a temporary cue. Once those five areas are in place , speakers, music, levels, headphones and deck control , the controller is ready for proper mixing rather than trial and error.
Disclaimer: This content is intended for informational purposes only. Readers are advised to exercise their own judgement, conduct due diligence, or consult a qualified expert before acting on any information provided.