

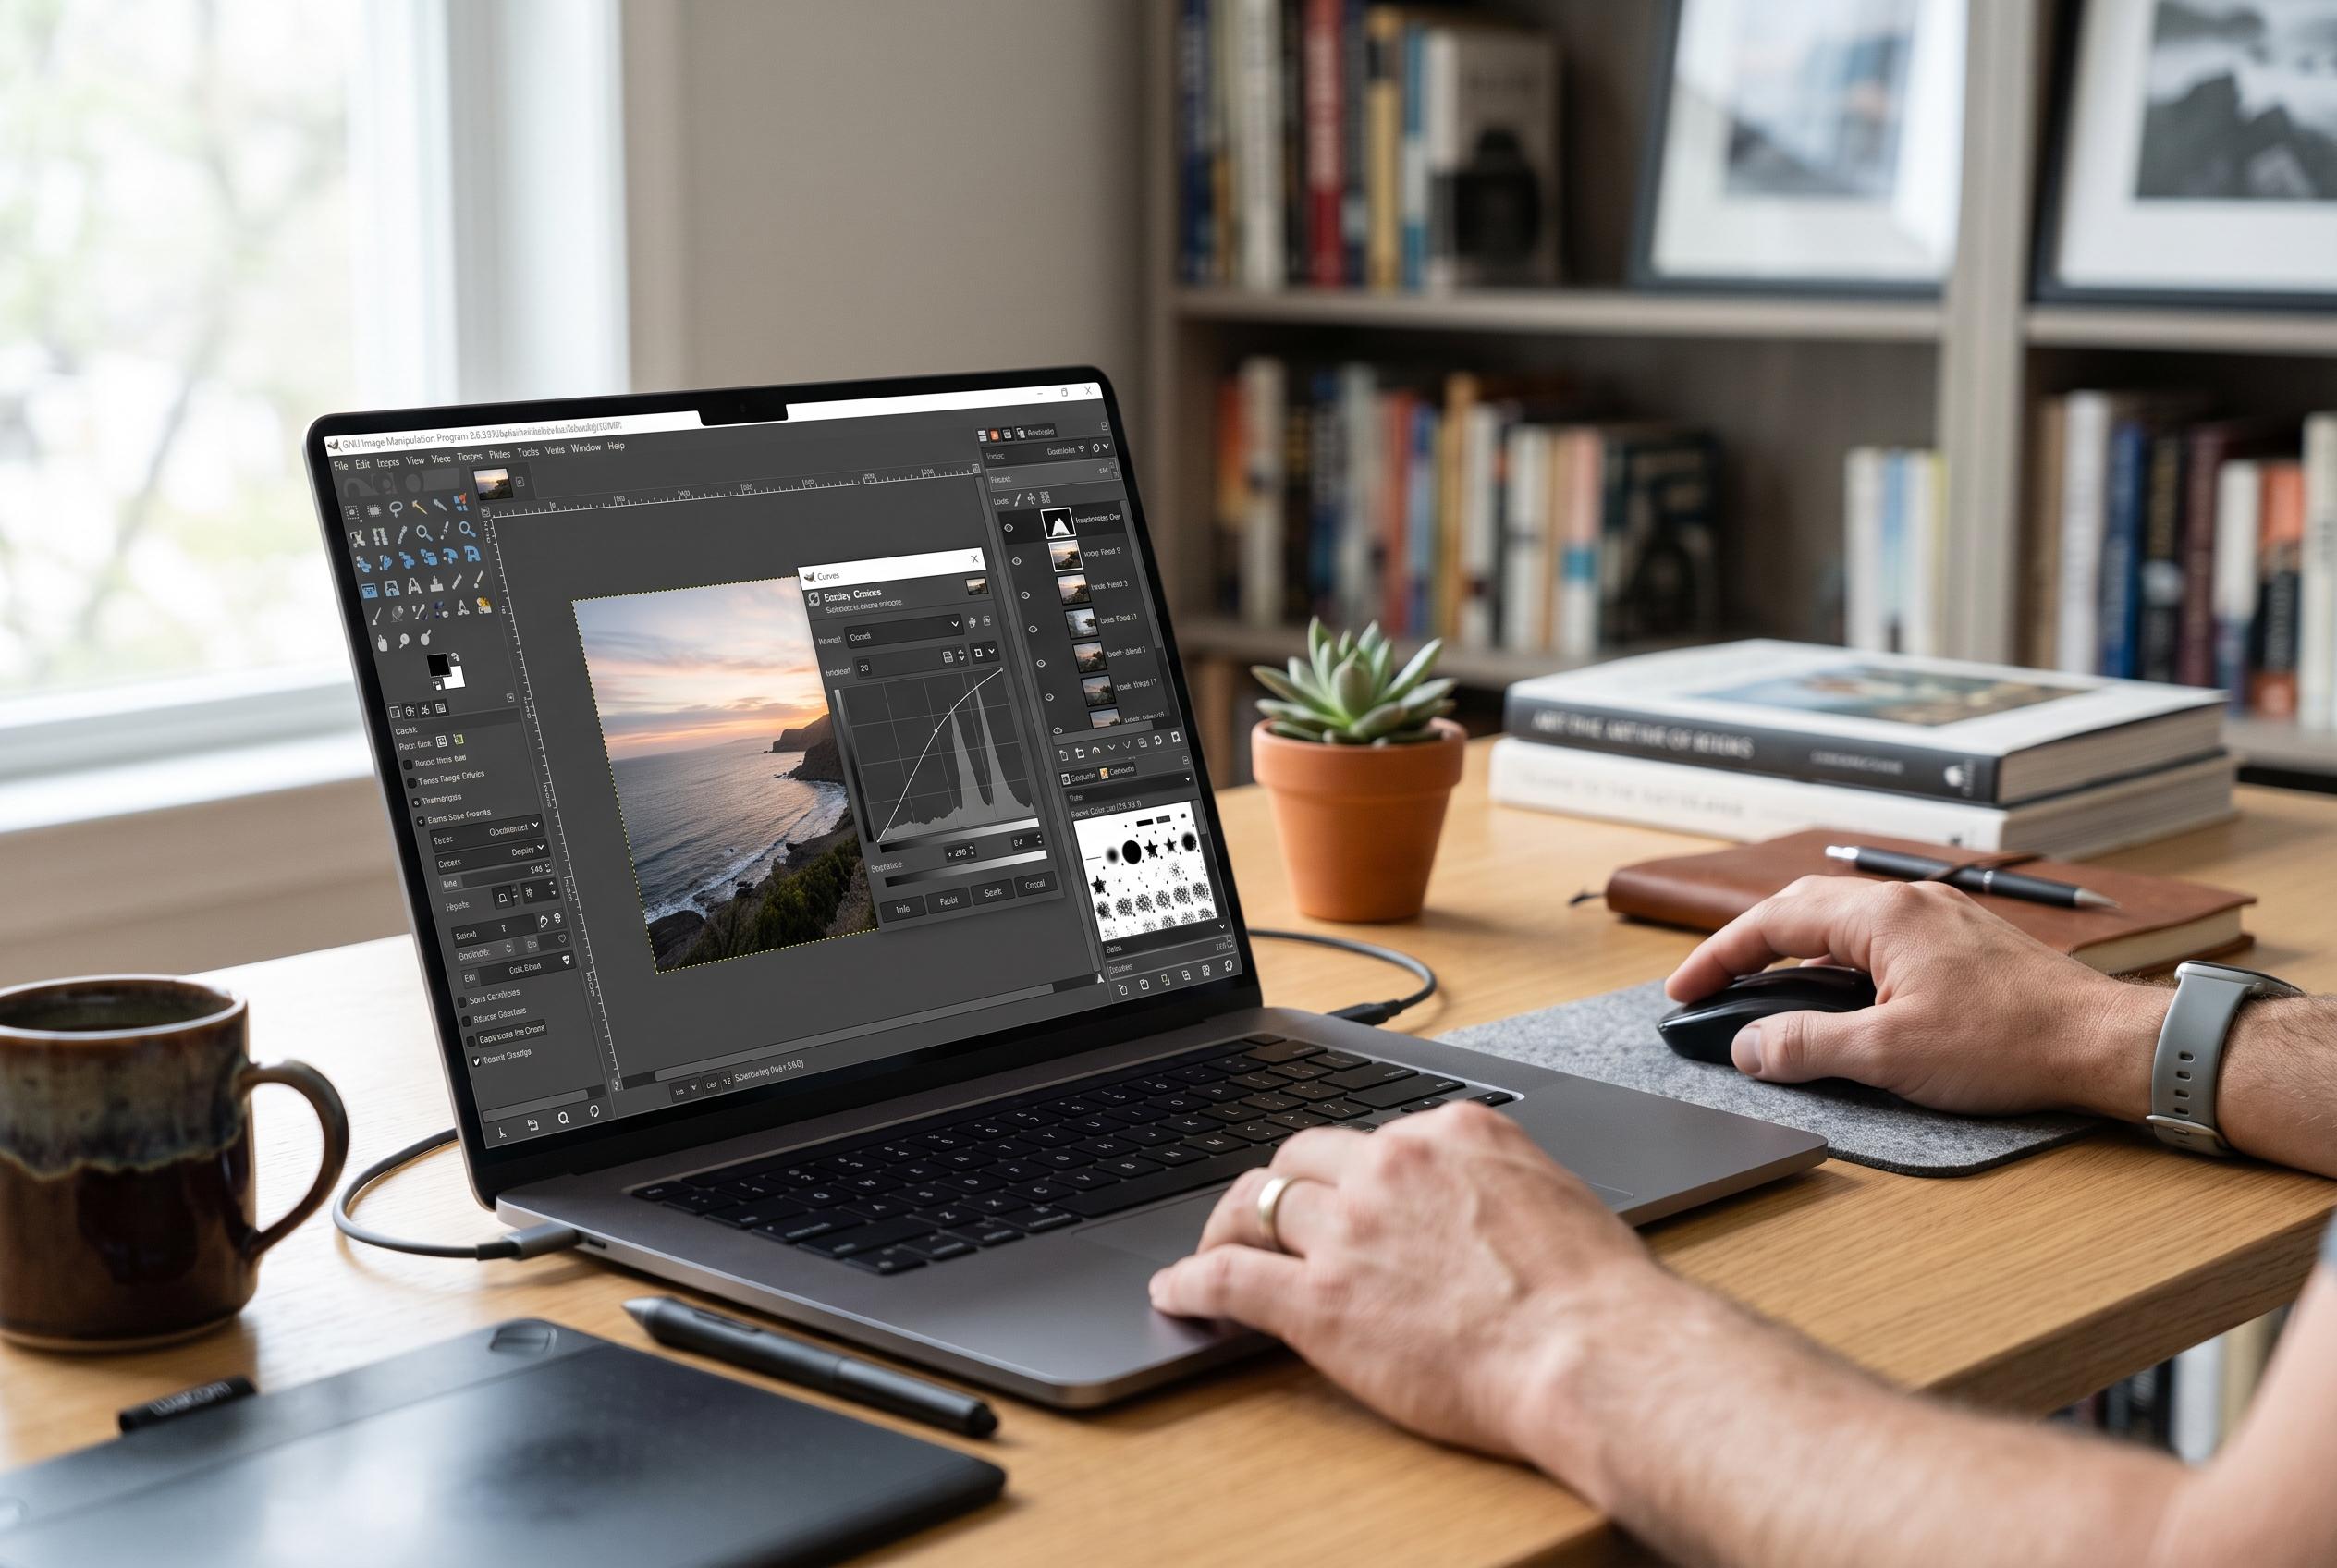

A step-by-step approach to building confidence with GIMP reveals how small, reliable routines can make it a primary editing tool, reducing reliance on Photoshop in everyday workflows.
GIMP can become a primary editor once the basic tools stop feeling unfamiliar. The turning point is usually not a dramatic feature, but a set of small, reliable routines that remove the need to keep switching back to Photoshop. In practice, that means learning the tools for selecting, cropping, repairing, adjusting and organising work so that edits feel controlled rather than improvised.
Selection tools are the first step towards working more precisely. GIMP’s official documentation says Rectangle Select, Ellipse Select and the other selection options are designed to isolate only the parts of an image you want to change, which is essential for targeted edits such as masking sensitive details or applying blur to a face without affecting the rest of the picture. Once a selection is in place, the effect stays local, which makes the workflow quicker and less risky.
Layers then provide the safety net that makes experimentation easier. Instead of altering the source image directly, a duplicate layer lets you test colour changes, removals and other adjustments while keeping the original underneath. Layer masks add another level of control. GIMP’s own tutorial describes them as a reversible way to hide or reveal parts of a layer, which is why they are so useful for non-destructive editing when only part of an effect should show.
For small defects, the Heal tool is often enough. It is suited to tiny distractions such as dust, lint or blemishes, because it samples surrounding detail and blends the repair into the image. That makes it a practical fix for everyday retouching, especially when the aim is to clean up a photo without making the edit obvious.
Crop and Levels cover two of the most common finishing tasks. Crop is a simple way to remove unnecessary parts of an image, while fixed aspect ratios can help when the same dimensions are used repeatedly. Levels is more technical, but it is one of GIMP’s most useful tonal tools. By adjusting shadows, midtones and highlights separately, it can improve a dark image without flattening it, and the histogram gives a clear view of how the tonal range is being redistributed.
The broader lesson is that GIMP becomes easier when it is treated as a serious editor rather than a fallback. Once the routine jobs are handled comfortably, the pressure to reopen another programme fades. GIMP may still have a learning curve, but for many users the key is not mastering everything at once; it is getting fluent with the tools that matter most in day-to-day editing.
Disclaimer: This content is intended for informational purposes only. Readers are advised to exercise their own judgement, conduct due diligence, or consult a qualified expert before acting on any information provided.