
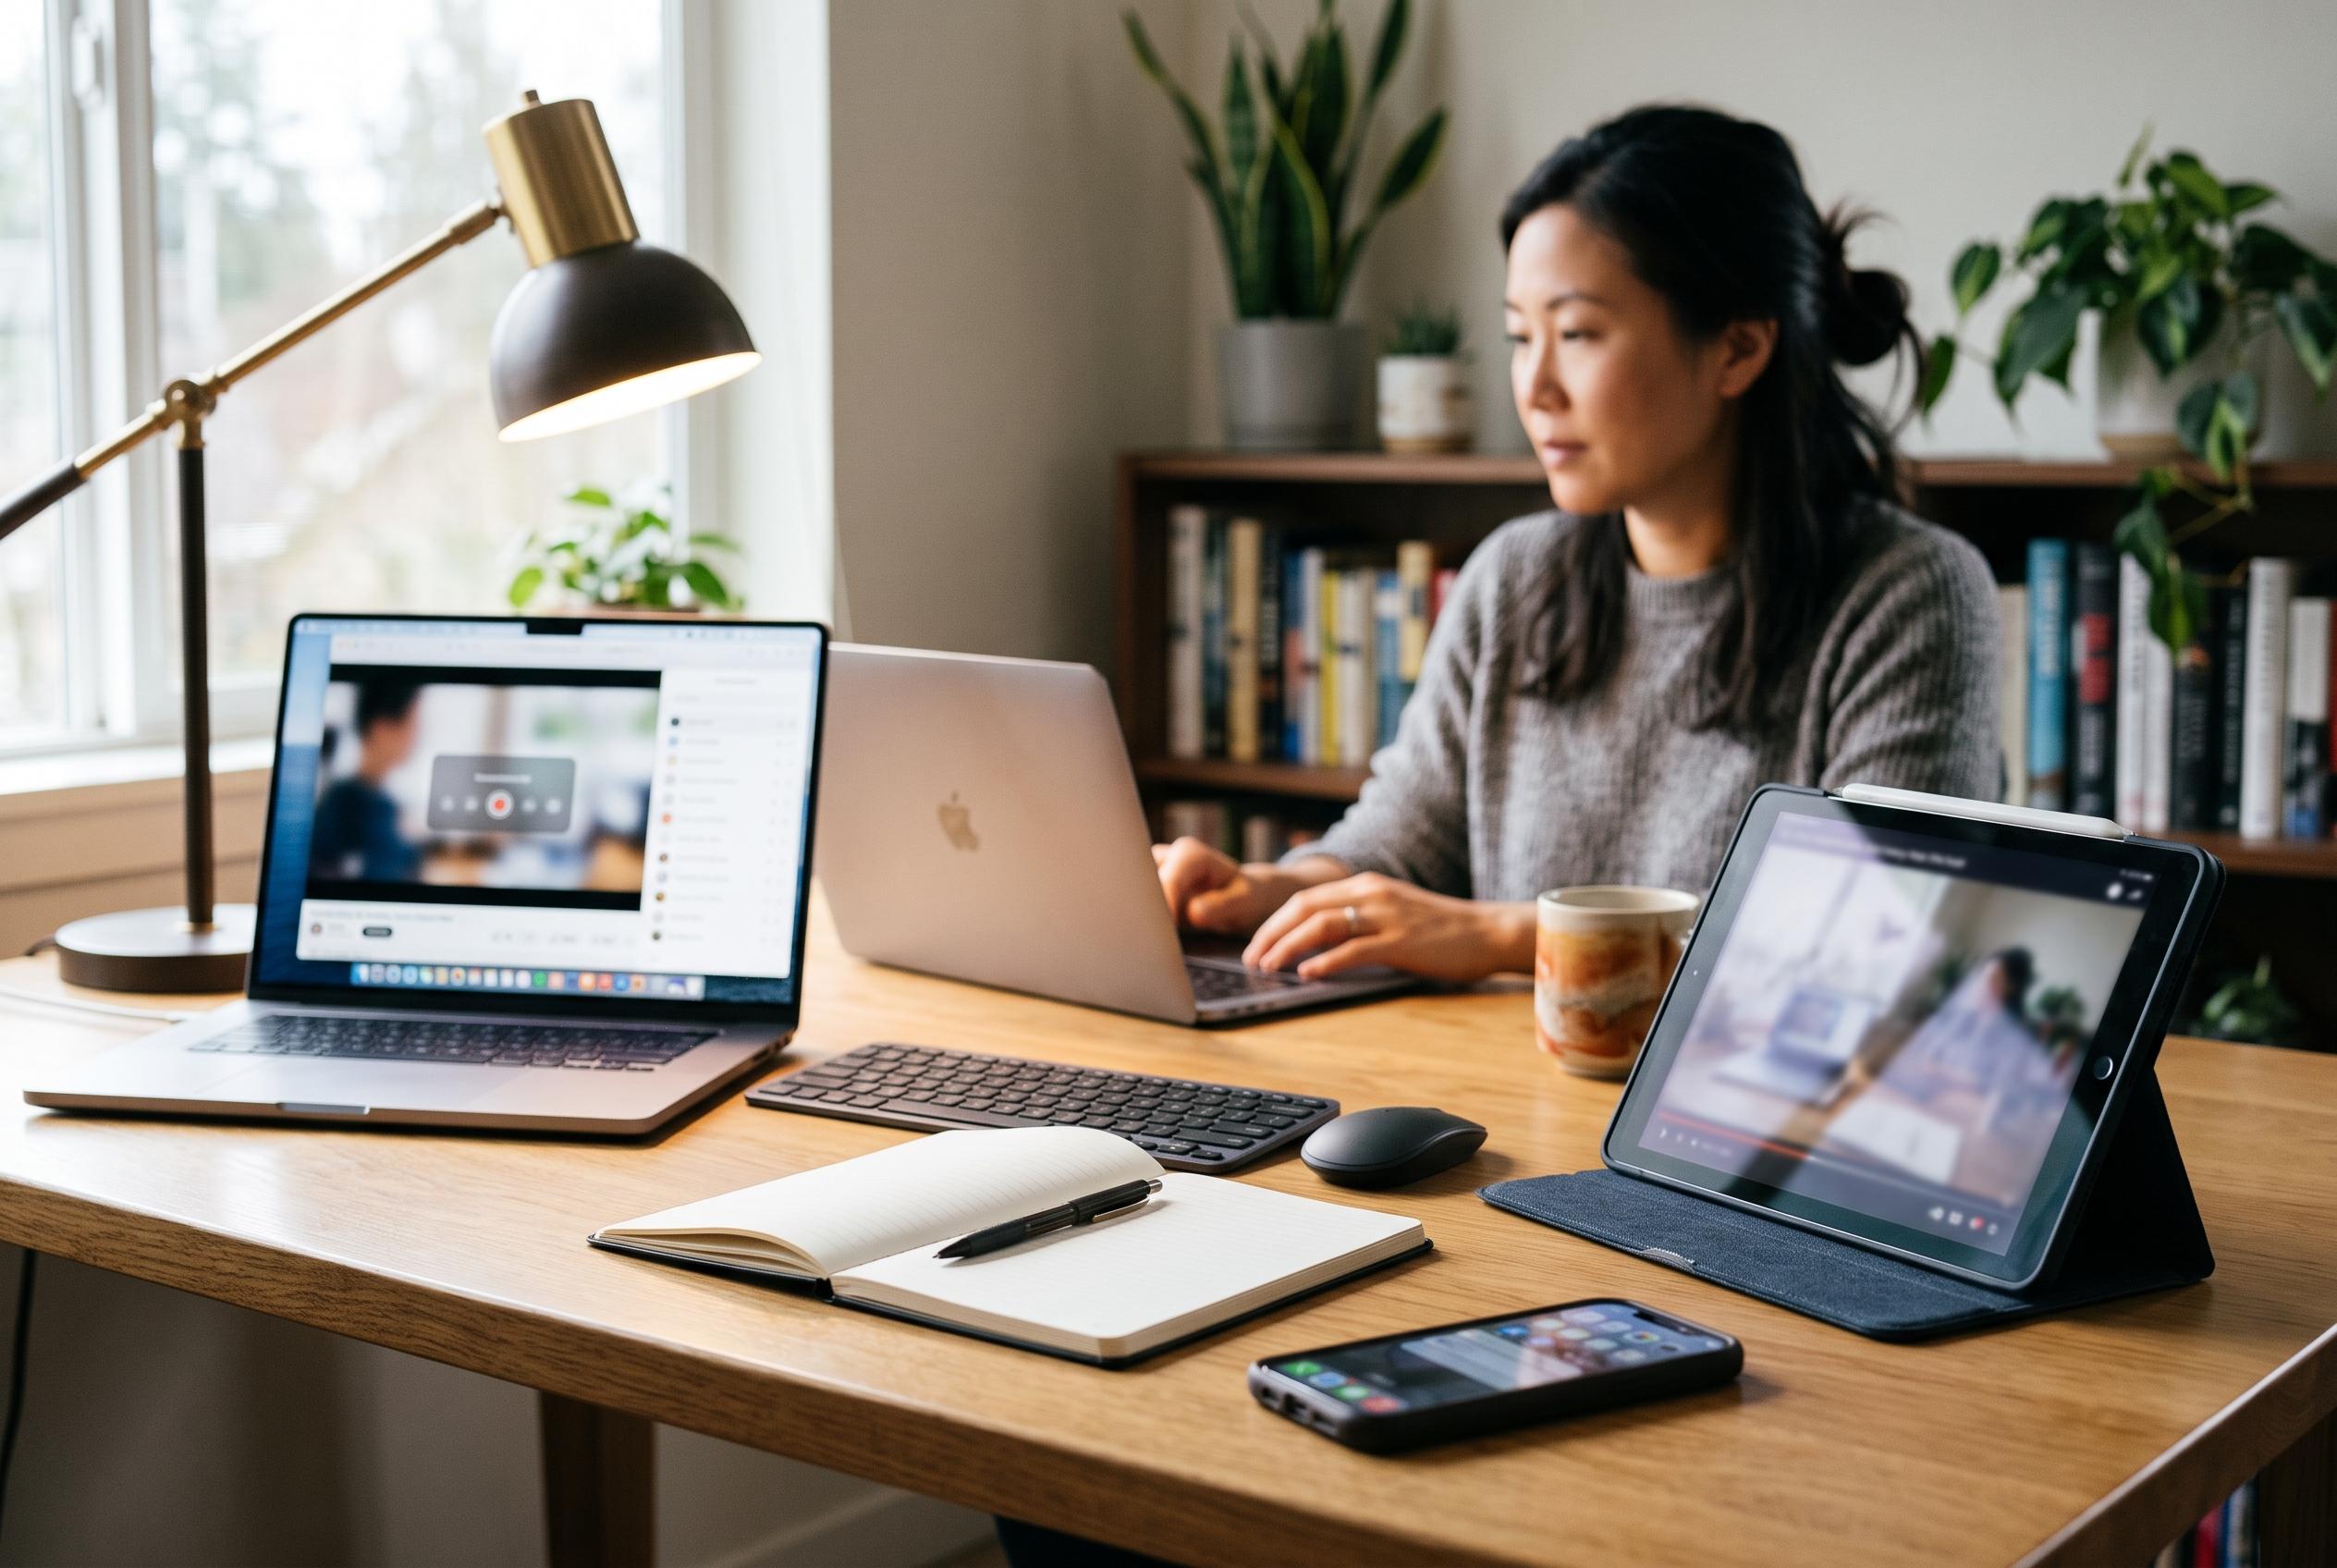

Native screen recording features on major platforms have become simple, effective, and widely adopted, offering a cost-effective alternative to third-party applications for everyday recording tasks.
Built-in screen recording tools now cover most everyday needs on Windows, macOS, ChromeOS, iPhone, iPad and Android, and they avoid the extra cost and setup that often come with third-party apps. For people who record lessons, software demonstrations or accessibility settings, that matters. The most practical approach is usually to stay with the operating system’s own recorder, which is generally free, works offline and can capture either the full display or a selected portion of it. TechRadar and FlexClip both note that native tools have become the default choice for many users because they are simple, widely available and sufficient for routine recording tasks.
On Windows 11, the Snipping Tool now does more than take still images. According to DevX and Windows Central, it can also record the screen, including a window or a custom rectangular area. The tool is opened with the Windows key, Shift and R, or from the Start menu, and users can choose whether to include microphone input and system audio before they begin. Recordings are saved locally as MP4 files in a Screen Recordings folder under Videos, and the built-in editor lets people trim or share the result without opening another application. Windows Central also points out that the older Xbox Game Bar remains available for recording, particularly for users who prefer a gaming-oriented interface.
On a Mac, the Screenshot toolbar is the quickest built-in option. According to TechRadar and FlexClip, it is launched with Shift, Command and 5, and it offers separate controls for recording the entire screen, a selected window or a custom region. Apple also includes useful options such as a delayed start, mouse-click indicators and the ability to choose where the file is saved. Screen recordings are stored locally as .mov files and can be trimmed or annotated afterwards. For users who want a more traditional workflow, QuickTime still offers screen recording from its File menu or via Control, Command and N.
Audio handling is where the platform differences become more significant. The material supplied by Veroniiiica notes that macOS versions up to and including macOS 26 do not natively capture system audio in the standard Screenshot or QuickTime workflow, so users who need internal sound often rely on a workaround using Zoom’s shared audio device. On newer Mac systems, system audio support is becoming easier to manage directly in Screenshot. By contrast, Windows and ChromeOS both offer clearer built-in controls for microphone and device audio, which makes them easier for tutorials that depend on narration, menu sounds or accessibility speech output.
ChromeOS has also matured into a capable screen-recording platform. FlexClip describes ChromeOS Screen Capture as a built-in tool that can record the full screen, a partial area or a single window. It can be launched from the shelf, a keyboard shortcut or the Screenshot key, depending on the device. The tool can capture device audio and microphone input, show clicks and keys, and save recordings locally as WebM files in Downloads by default. Veroniiiica’s guide adds that recordings are not sent to Google Drive automatically, which is useful for users who want to keep work local and organised.
Accessibility settings can affect what appears in a recording, but not always in the way users expect. Veroniiiica notes that display magnification overlays are often not visible in the final video, even though the on-screen controls are. Inverted colours are likewise typically absent from recordings, while dark mode and high-contrast themes are usually preserved. Screen-reader speech, text-to-speech output and other system audio are captured if the recorder is set to include device sound. The cursor is visible as well, although on Mac and ChromeOS it may appear at its default size rather than the enlarged size selected by the user. On-screen keyboards and notifications are also recorded, so muting alerts or turning on Do Not Disturb is a sensible precaution before starting.
The same principles apply to mobile devices. Both iPhone and iPad include a Screen Recording control in Control Centre, with microphone recording available through a long press. Android devices place screen recording in Quick Settings, where users can choose device audio, microphone audio or both, and optionally display touches on screen. These mobile tools are useful when a workflow needs to be demonstrated exactly as it appears on a phone or tablet. For more demanding work, Windows Central and TechRadar also point to broader recording applications such as OBS or newer Windows Store tools, but for most users the operating system’s own recorder remains the most practical option.
Disclaimer: This content is intended for informational purposes only. Readers are advised to exercise their own judgement, conduct due diligence, or consult a qualified expert before acting on any information provided.