

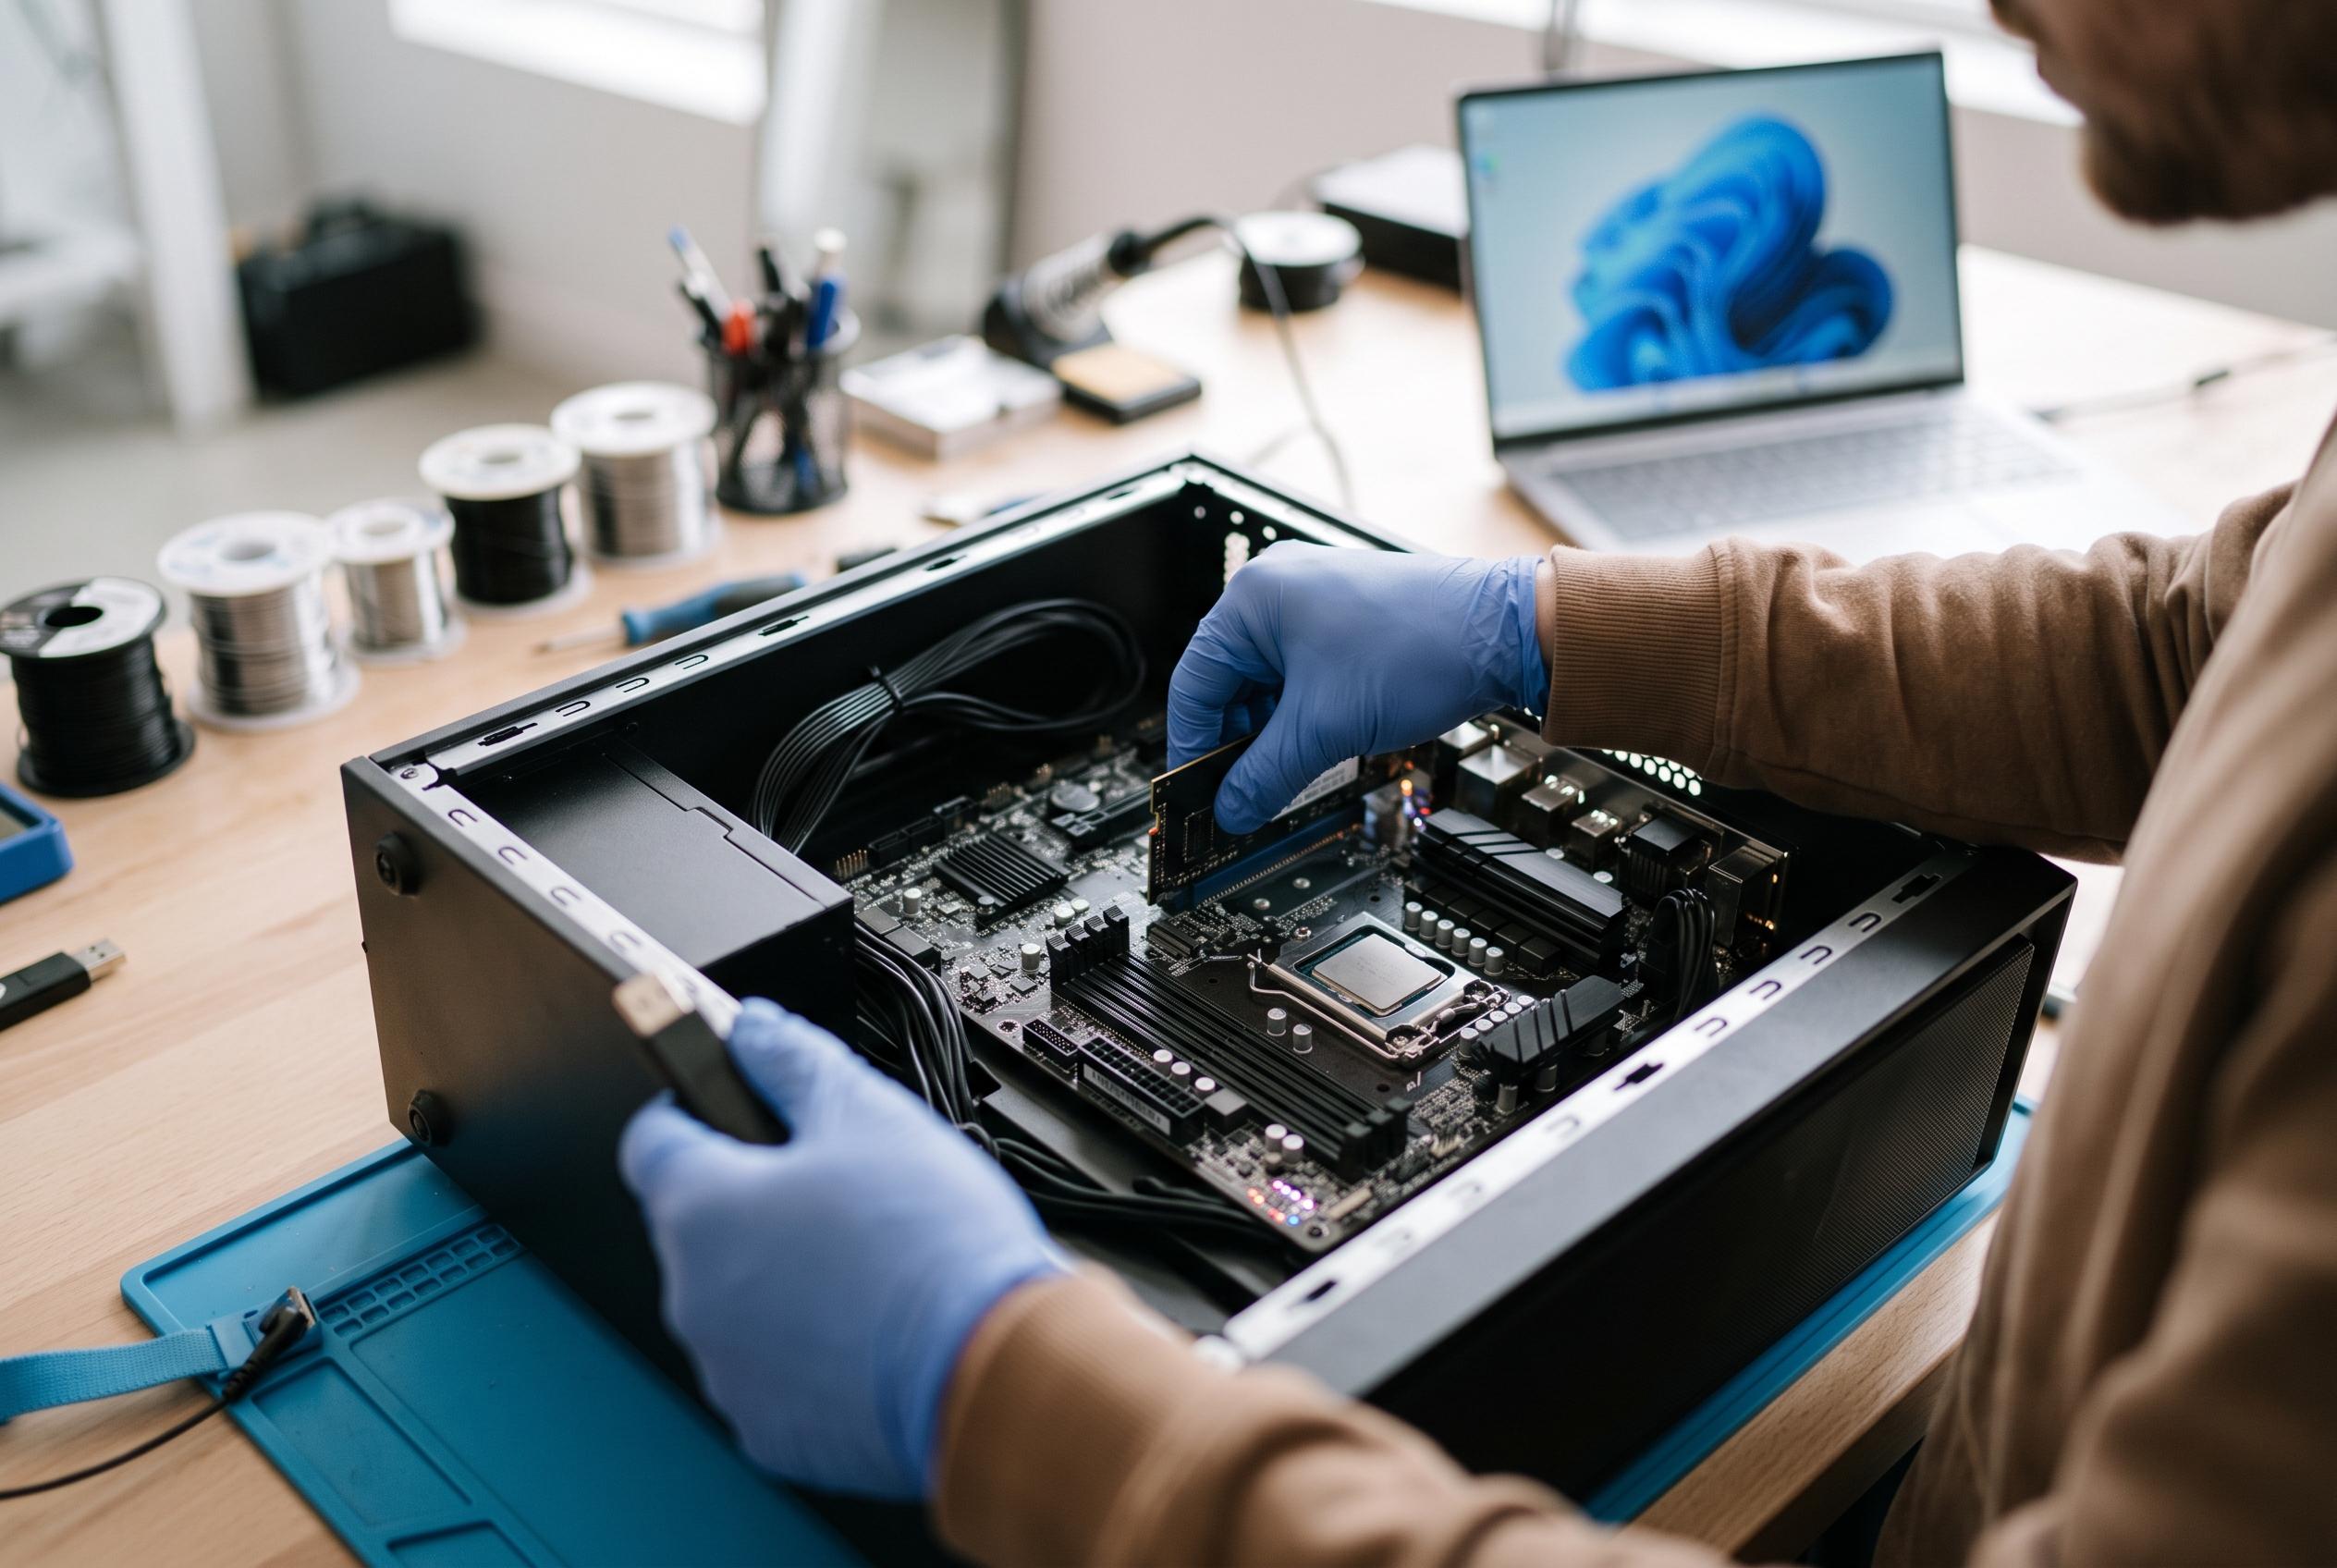

Before updating your motherboard firmware on Windows 11, learn how to verify your current BIOS version and follow best practices to ensure a safe and successful upgrade, avoiding potential system failures and security issues.
Checking a BIOS version in Windows 11 is a quick but important first step before accepting any firmware update. The BIOS, or more accurately UEFI on modern PCs, runs before Windows loads and governs low-level functions such as boot order, Secure Boot, memory initialisation, storage detection and communication with the TPM security chip. Because it lives on the motherboard rather than the drive, a bad flash can leave a machine unable to start, which is why manufacturers and support teams usually advise verifying the current version before doing anything else. Help Desk Geek notes that the check itself takes roughly 30 seconds, while the update can take considerably longer.
The main reason to update is not simply that a newer version exists. According to Intel and other technical guidance, BIOS updates are most useful when they fix a specific fault, improve compatibility with new hardware, or address a security advisory. That may include problems such as TPM errors, Windows Hello failures, sleep crashes, NVMe detection issues or support for a new processor. If the machine is stable and the release notes do not mention a relevant fix, leaving the firmware alone is often the safer option. TechTarget likewise warns that firmware updates should be approached cautiously and only when there is a clear benefit.
Windows offers several ways to identify the installed version. The fastest is System Information: open the Run box, enter msinfo32 and look for the BIOS Version/Date field. PowerShell offers a second route, and TechTarget recommends Get-CimInstance -ClassName Win32_BIOS for administrators who need to capture the version in support tickets or inventory work. That method also reveals the manufacturer, serial number and release date. Help Desk Geek also suggests checking the exact system model at the same time, because the correct BIOS package depends on the precise machine, not just the general product family.
Some users may prefer to verify the version inside the firmware itself. Windows can reboot into UEFI settings through Settings, Recovery and Advanced startup, although this route is not always available on older or legacy-configured machines. Once inside firmware setup, the version is usually shown on a main information page. This step is optional, but it can be useful when Windows does not report the firmware details clearly, or when you want to confirm security settings before and after the update. ASUS also documents BIOS updates through Windows Update on some supported models, showing that firmware delivery is no longer limited to separate manufacturer utilities.
Before any flash begins, the preparation matters more than the tool. The laptop should be on its original charger, or a desktop should be protected by a stable power source, ideally an uninterruptible power supply. Help Desk Geek advises saving the BitLocker recovery key, backing up important files and suspending BitLocker protection before the update starts. Microsoft’s update guidance stresses the broader point as well: interruptions during installation can cause failures, and system updates should be left to complete without interference. On devices where encryption is active, firmware changes can trigger BitLocker recovery if protection has not been paused first.
The safest update path is usually the manufacturer’s own software. Dell users can rely on Dell Command | Update or SupportAssist, HP owners can use HP Support Assistant, Lenovo systems can use Lenovo Vantage or Lenovo System Update, and ASUS provides updates through MyASUS, its support site or, on some machines, directly through Windows Update. Help Desk Geek also points out that custom-built PCs are handled differently: the user must identify the motherboard model, download the correct file from the board maker and flash it with the vendor’s own recovery utility, such as EZ Flash, M-Flash, Q-Flash or Instant Flash. Intel similarly recommends using the exact file for the exact board and, where required, a properly formatted USB drive.
Once flashing begins, the most important instruction is not to interrupt it. A black screen, loud fans or a long progress bar may look alarming, but they are often normal. The machine may restart more than once, and some Dell and Lenovo updates can sit on a progress screen for several minutes. Cutting power mid-process is the scenario most likely to leave a system unbootable. That is why the guidance repeatedly emphasises patience: do not close the lid, press the power button or assume the system has frozen too quickly.
After the reboot, the job is not finished until the update is confirmed. The version in msinfo32 should match the one on the manufacturer’s support page, BitLocker should be resumed, and settings such as Secure Boot and TPM should still report as enabled. If the firmware reset storage mode, boot order or virtualisation options, those need to be restored manually. Help Desk Geek also notes that problems such as missing drives or boot failures after an update often trace back to a changed BIOS setting rather than a failed flash. Microsoft’s support material and ASUS’s update guidance both reinforce the same principle: firmware updates can be useful, but they are only successful when the device is checked afterwards and the security state is put back as it was.
Disclaimer: This content is intended for informational purposes only. Readers are advised to exercise their own judgement, conduct due diligence, or consult a qualified expert before acting on any information provided.