

Although not ideal, an iPad can still capture quality photos and videos with proper settings and lighting, offering a convenient option for casual shooters equipped with limited hardware.
Using an iPad to shoot photographs or video is rarely the ideal choice, but it can still produce respectable results when the device is the only camera to hand. The main limitation is hardware. Even Apple’s higher-end tablets still rely on a single rear camera, so technique matters more than specifications. According to Apple Support, the iPad camera can handle stills, panoramas, bursts, Live Photos and video, but the available modes only help if the user sets them up properly.
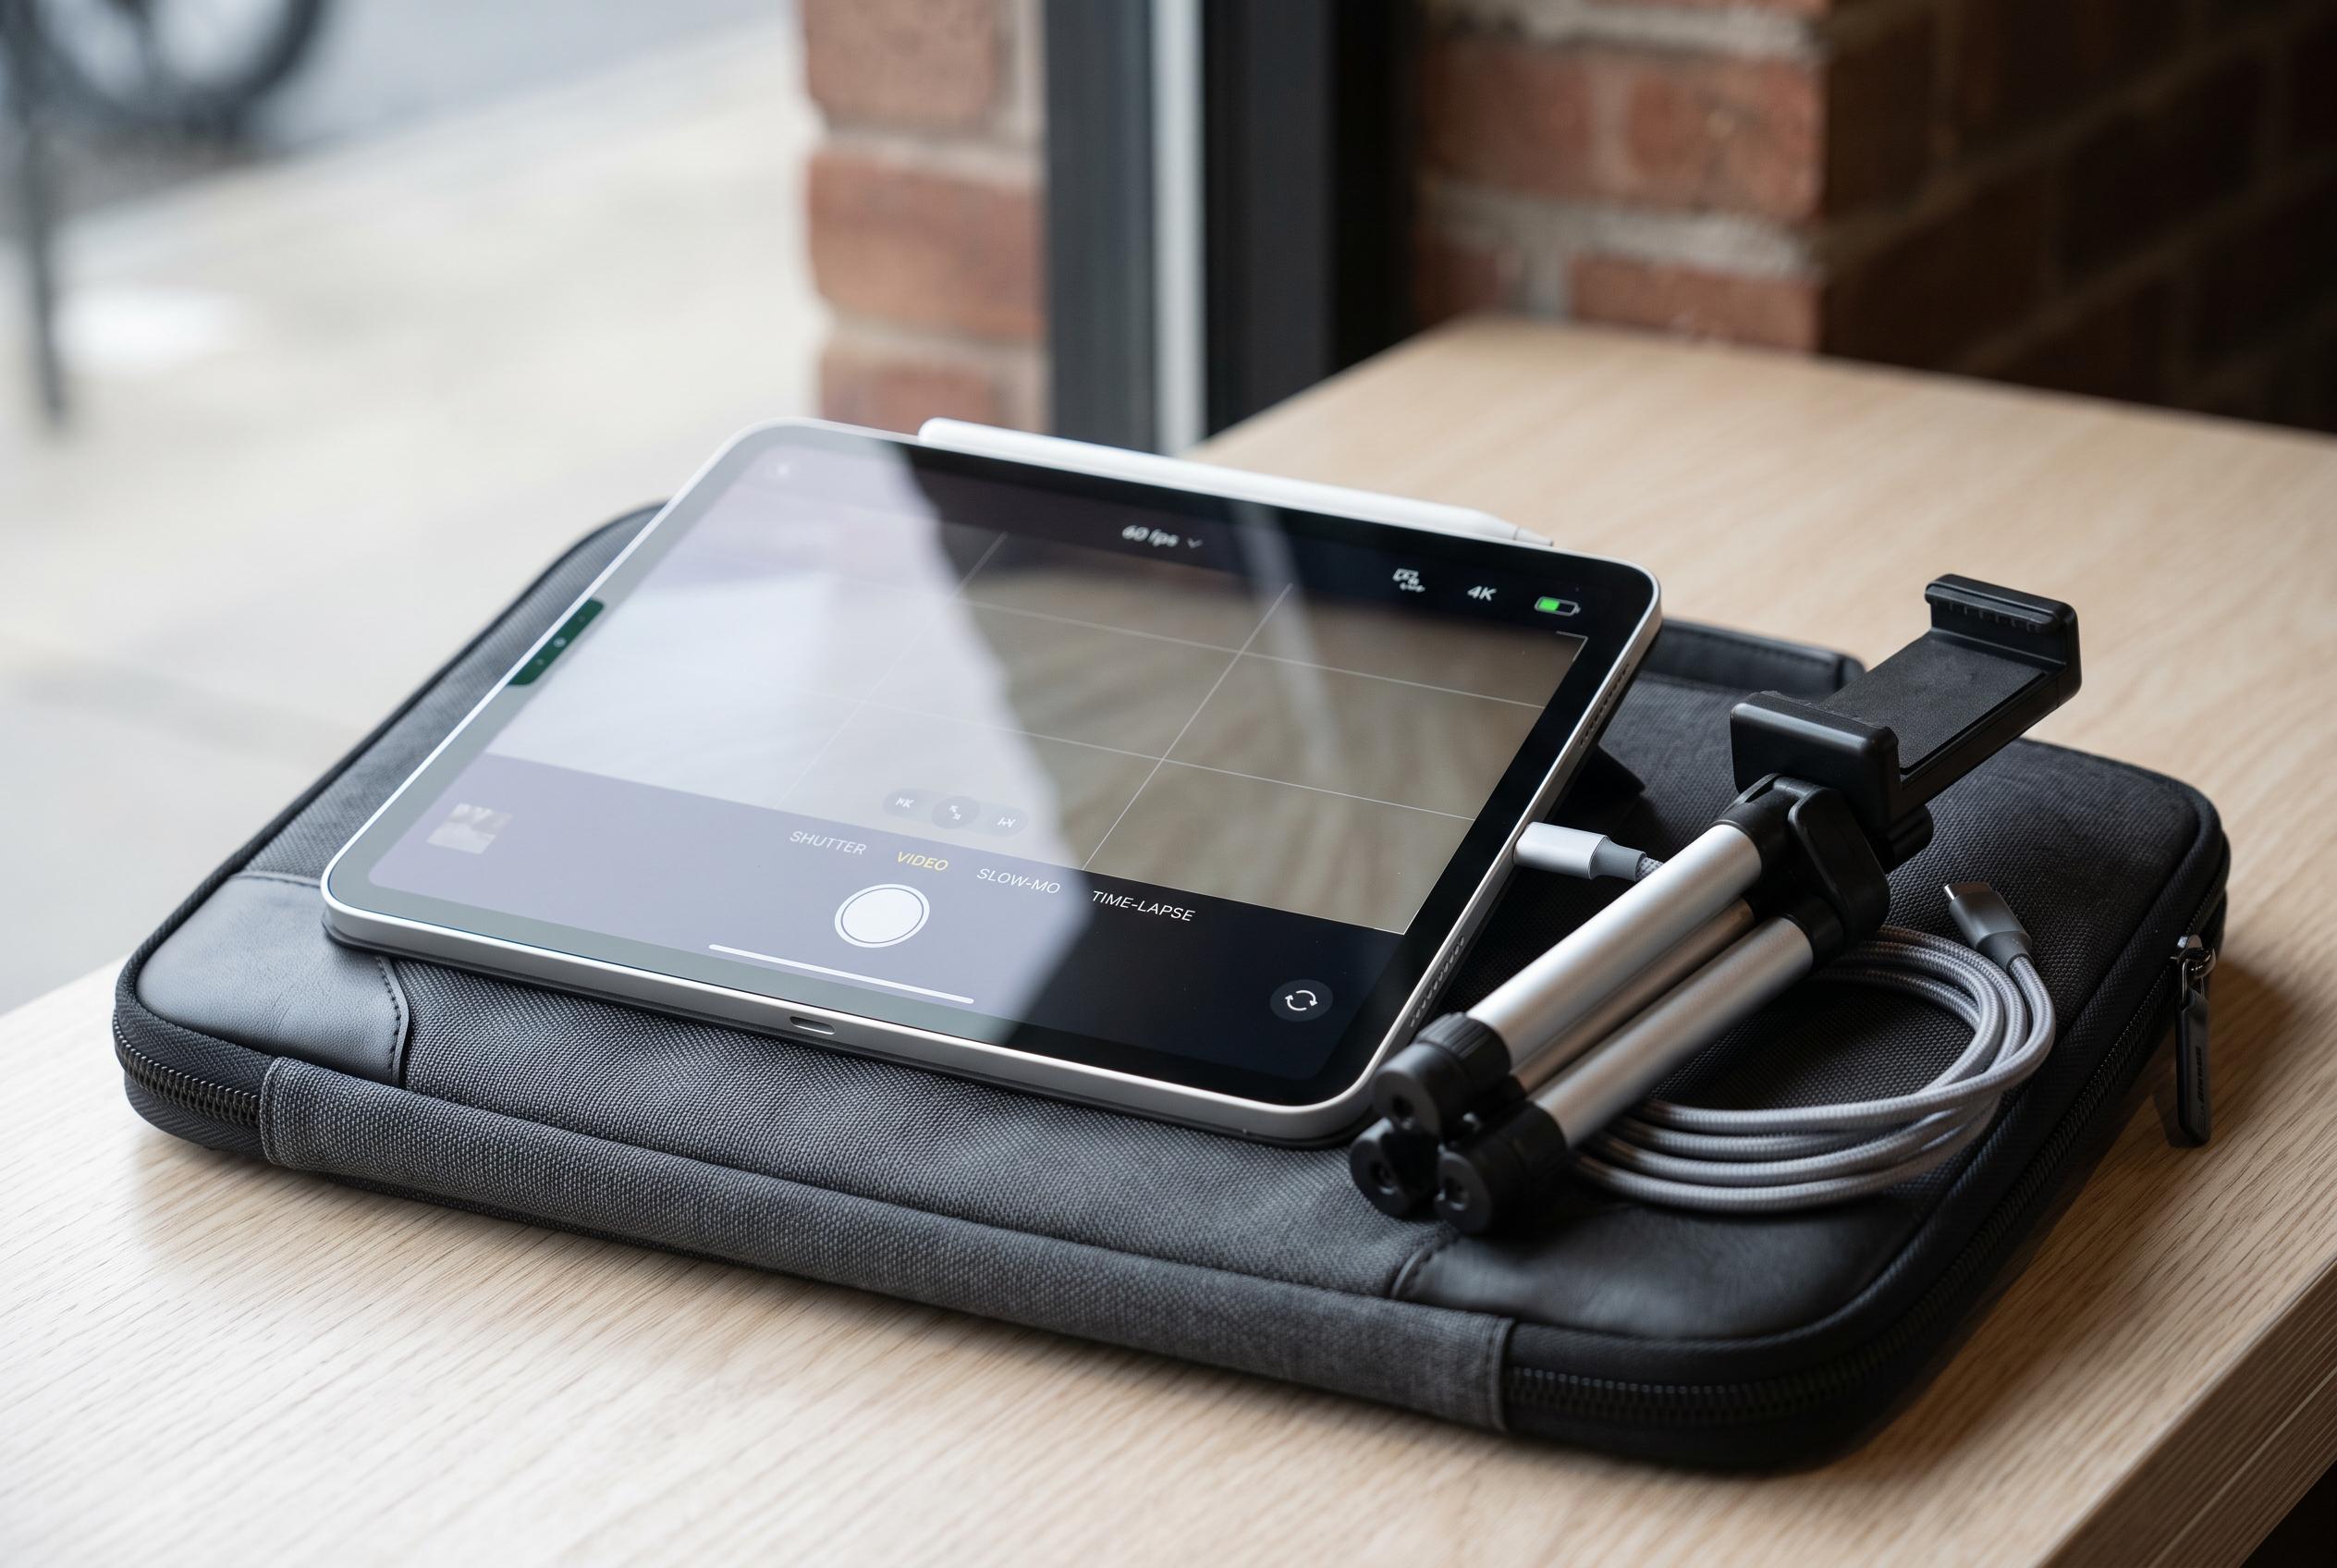
The first improvement comes from the settings menu. Apple says users can switch on the grid and related framing aids to improve alignment, while also locking focus and exposure when the scene needs consistency. That matters because a 12-megapixel sensor leaves little room for heavy cropping later. For video, Apple recommends paying attention to resolution, frame rate and low-light tools such as Auto FPS, which can make footage steadier and more usable in difficult lighting.
Lighting remains the most important practical factor. Pocket-lint argues that daylight or strong indoor light will outperform the iPad flash in almost every case, and that subjects should be placed near the brightest available source rather than pushed into dim corners. The same advice applies to composition. Apple’s guidance and other camera tutorials point to the grid as a simple way to follow the rule of thirds, while avoiding digital zoom unless there is no alternative. On an iPad, moving closer is usually better than cropping away image quality.
Editing can rescue a fair amount, but not everything. Apple’s Photos app offers basic adjustments for colour, highlights, shadows and unwanted objects, which is enough for most casual users. More advanced work belongs in tools such as Lightroom, Photoshop or Pixelmator, especially when layered editing or precise canvas sizing is required. Storage is the final constraint. Pocket-lint notes that cloud backup is the simplest safeguard, while external SSDs are mainly useful for large 4K ProRes projects or for moving originals off the device.
Disclaimer: This content is intended for informational purposes only. Readers are advised to exercise their own judgement, conduct due diligence, or consult a qualified expert before acting on any information provided.