

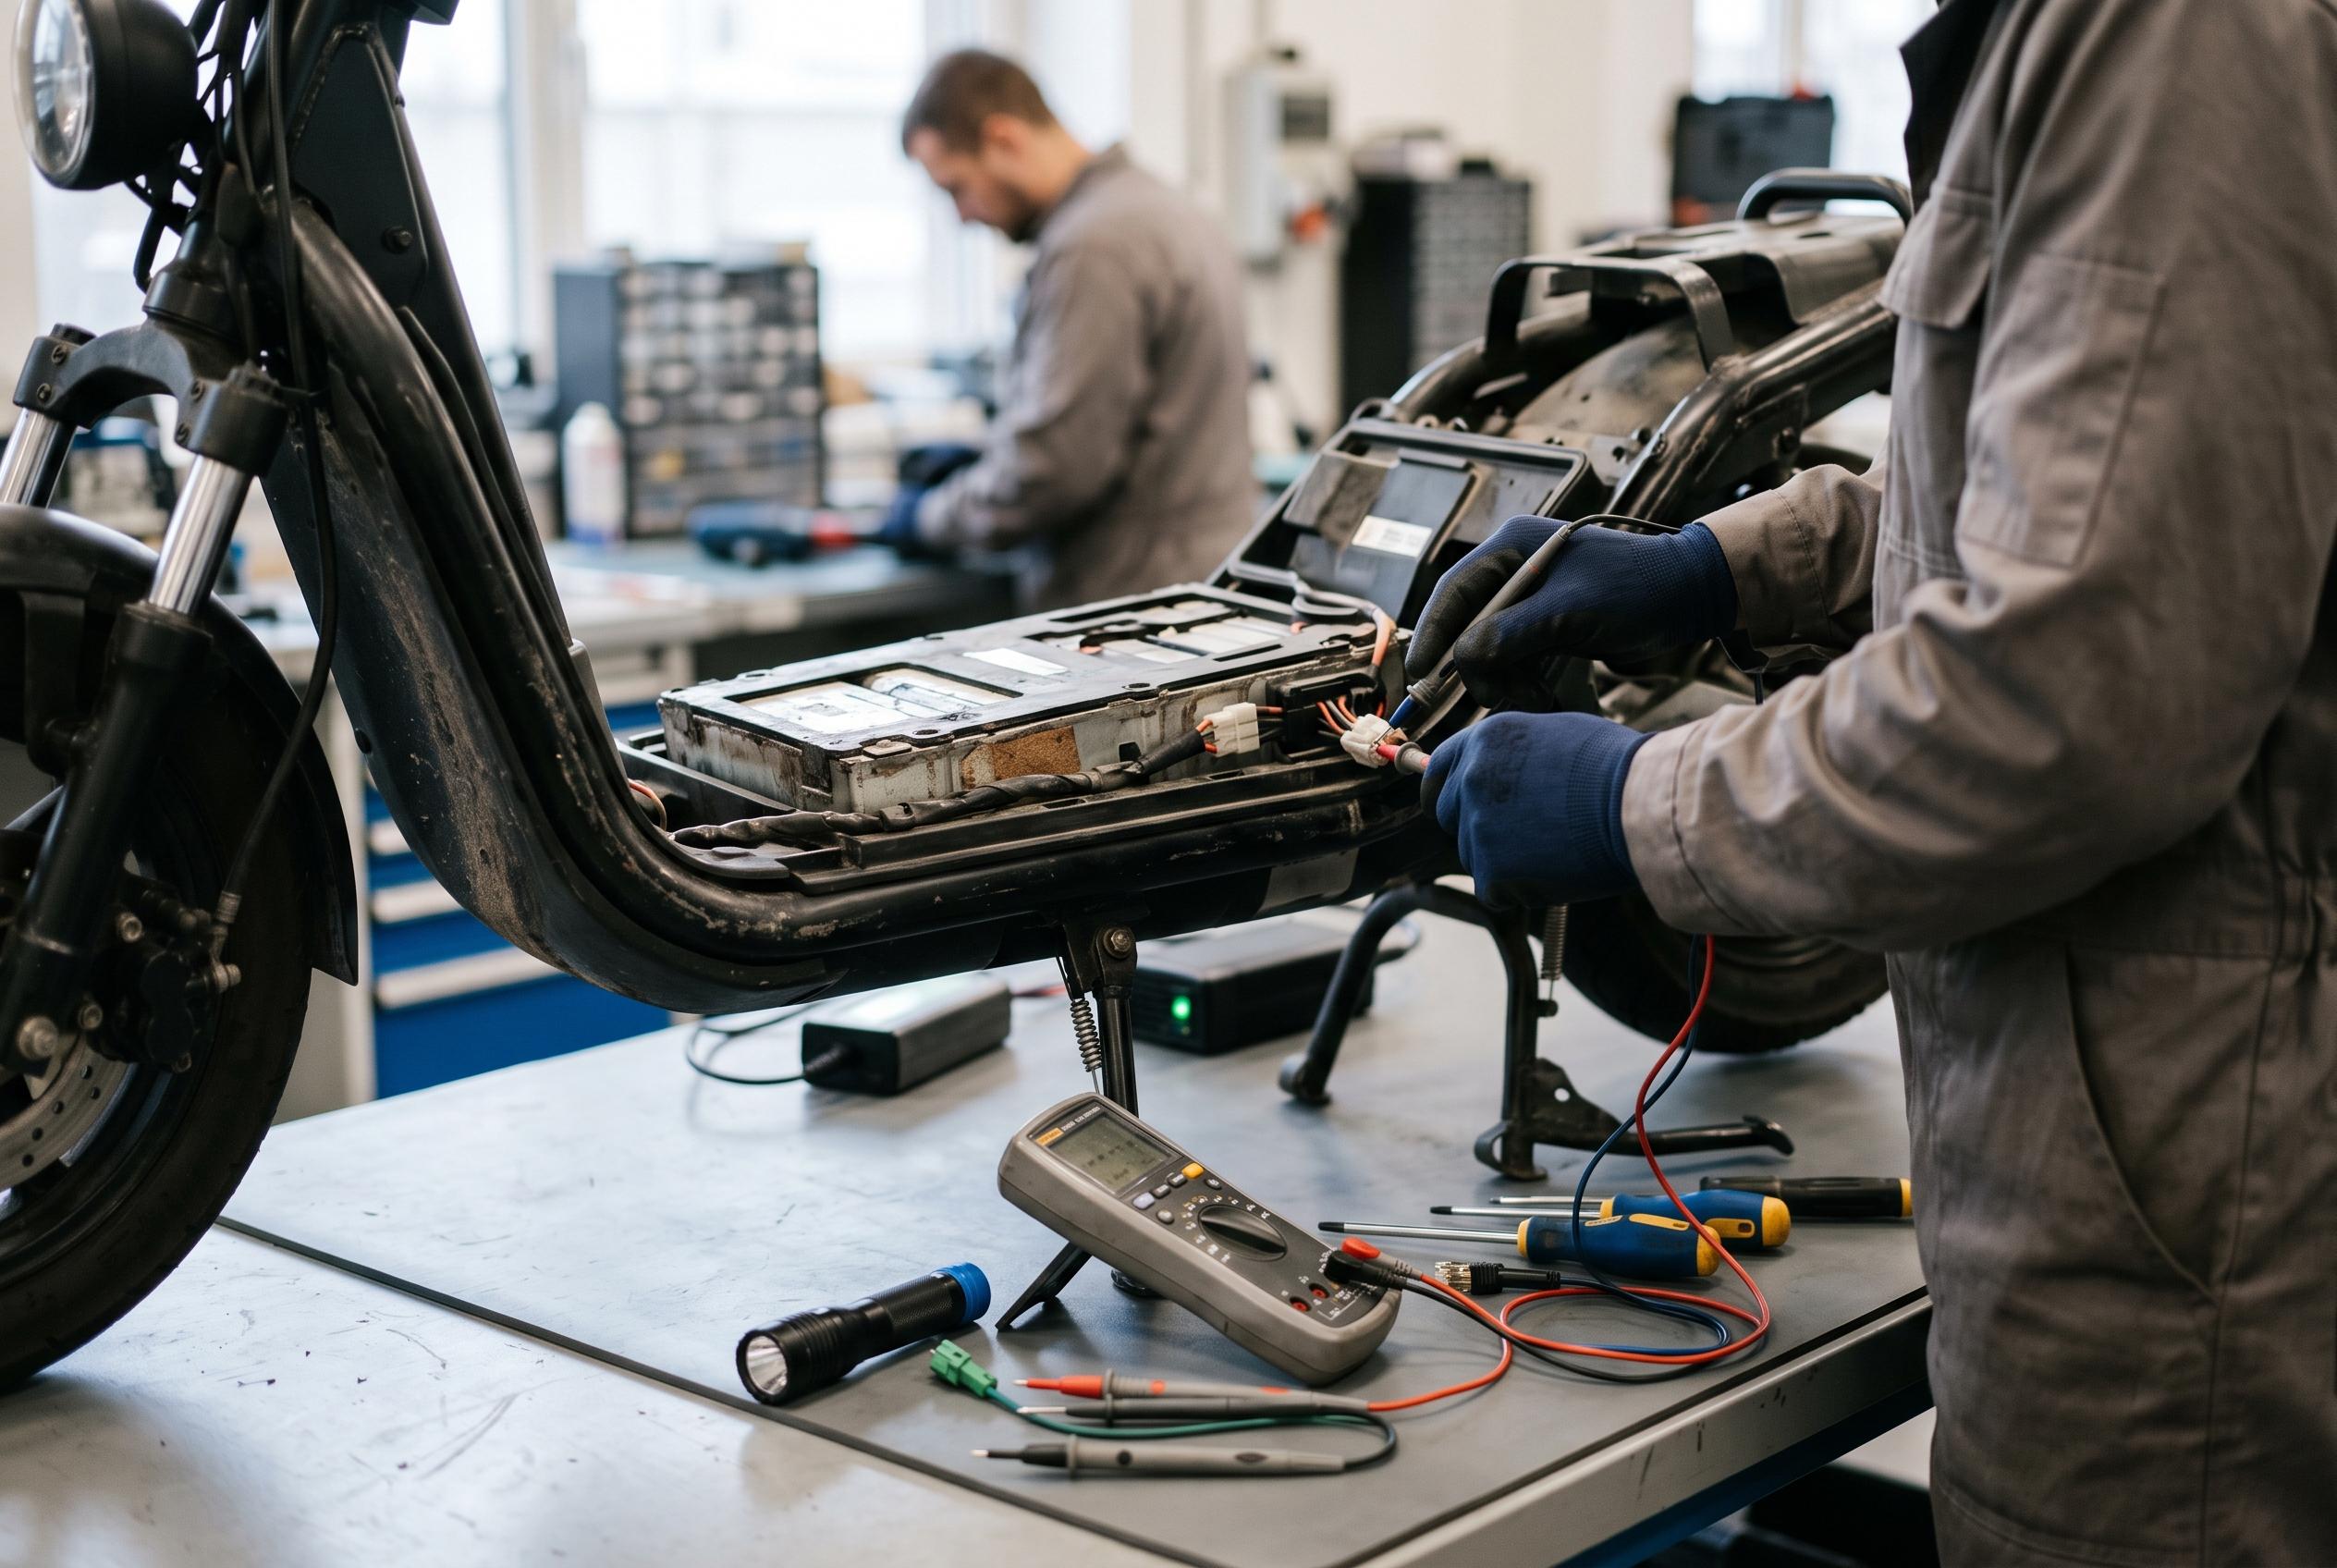

Guidance from Varla, Levy Electric, and others offers detailed techniques for resetting and troubleshooting scooter batteries, highlighting the importance of distinguishing temporary protections from permanent faults.
Electric scooter batteries usually do not fail without warning; they often enter a protective state. According to Varla’s guide, the Battery Management System, or BMS, may lock the pack after deep discharge, a short circuit, over-current, or heat-related risk. In that state, the scooter can refuse to charge or switch on, even though the battery itself may not be permanently damaged. The practical question is whether the fault is a temporary protection lockout, a controller glitch, or a battery problem that needs professional attention.
The safest place to begin is with a soft reset. Varla recommends turning the scooter off, disconnecting the charger, and holding the power button for around 15 to 20 seconds to drain residual power from the controller. The charger should then be connected to the wall first and only afterwards to the scooter. If the charger light changes from green to red, the pack is likely accepting charge again. Take Travel Info describes a similar approach, while Levy Electric also stresses that this process is essentially a controlled power cycle rather than a fix for damaged cells.
If that does not work, a harder reset may be needed. Varla says this can involve opening the deck, disconnecting the main power lead, and separating the smaller BMS communication harness for several minutes before reconnecting everything in the correct order. The guide notes that some packs also include a small internal reset button or pinhole on the BMS board. Levy Electric gives the same broad advice and adds that the battery should be left isolated long enough for the circuitry to fully discharge before the pack is reconnected and tested again.
Not every scooter includes a dedicated reset control, and some faults sit outside the battery pack altogether. Scooter Fix Hub advises checking the charging port, cable, outlet and charger before assuming the battery has failed. Its checklist also includes inspecting for moisture, dirt, damaged wiring and controller faults, because any of these can stop a scooter from charging properly. On some models, a pop-out breaker, rocker switch or inline fuse may be the real point of failure rather than the BMS itself.
If the battery has dropped too low, a charger wake-up routine can sometimes bring it back. Varla and Levy Electric both note that some BMS units will reactivate when they detect charging voltage, provided the cells have not fallen below a critical threshold. However, if the charger remains green, the scooter still will not power on, or the battery shows signs of deep undervoltage, the problem may be beyond a simple reset. At that stage, the likely causes include cell imbalance, a blown fuse, a failed charger or a pack that is no longer safe to recover at home.
The distinction between a soft reset and a hard battery reset matters. A soft reset targets the scooter’s display, firmware or control logic. A hard reset targets the battery system itself and usually requires physical access. That difference is important because a reset can clear temporary errors, but it cannot revive damaged lithium-ion cells or override built-in safety protections. Varla and the other guides are clear that bypassing the BMS, probing live terminals or attempting to wake a swollen, hot or leaking pack is unsafe.
Where the battery is merely out of calibration rather than defective, a full charge-and-discharge cycle can help restore the gauge. Varla recommends charging to full in one uninterrupted session, allowing the pack to rest, then using the scooter normally before recharging it completely. Take Travel Info and Levy Electric make the same point: recalibration can improve percentage readings after storage or irregular use, but it is not a cure for a failing battery. If the scooter still will not charge after these checks, professional inspection or replacement is the sensible next step.
Disclaimer: This content is intended for informational purposes only. Readers are advised to exercise their own judgement, conduct due diligence, or consult a qualified expert before acting on any information provided.