

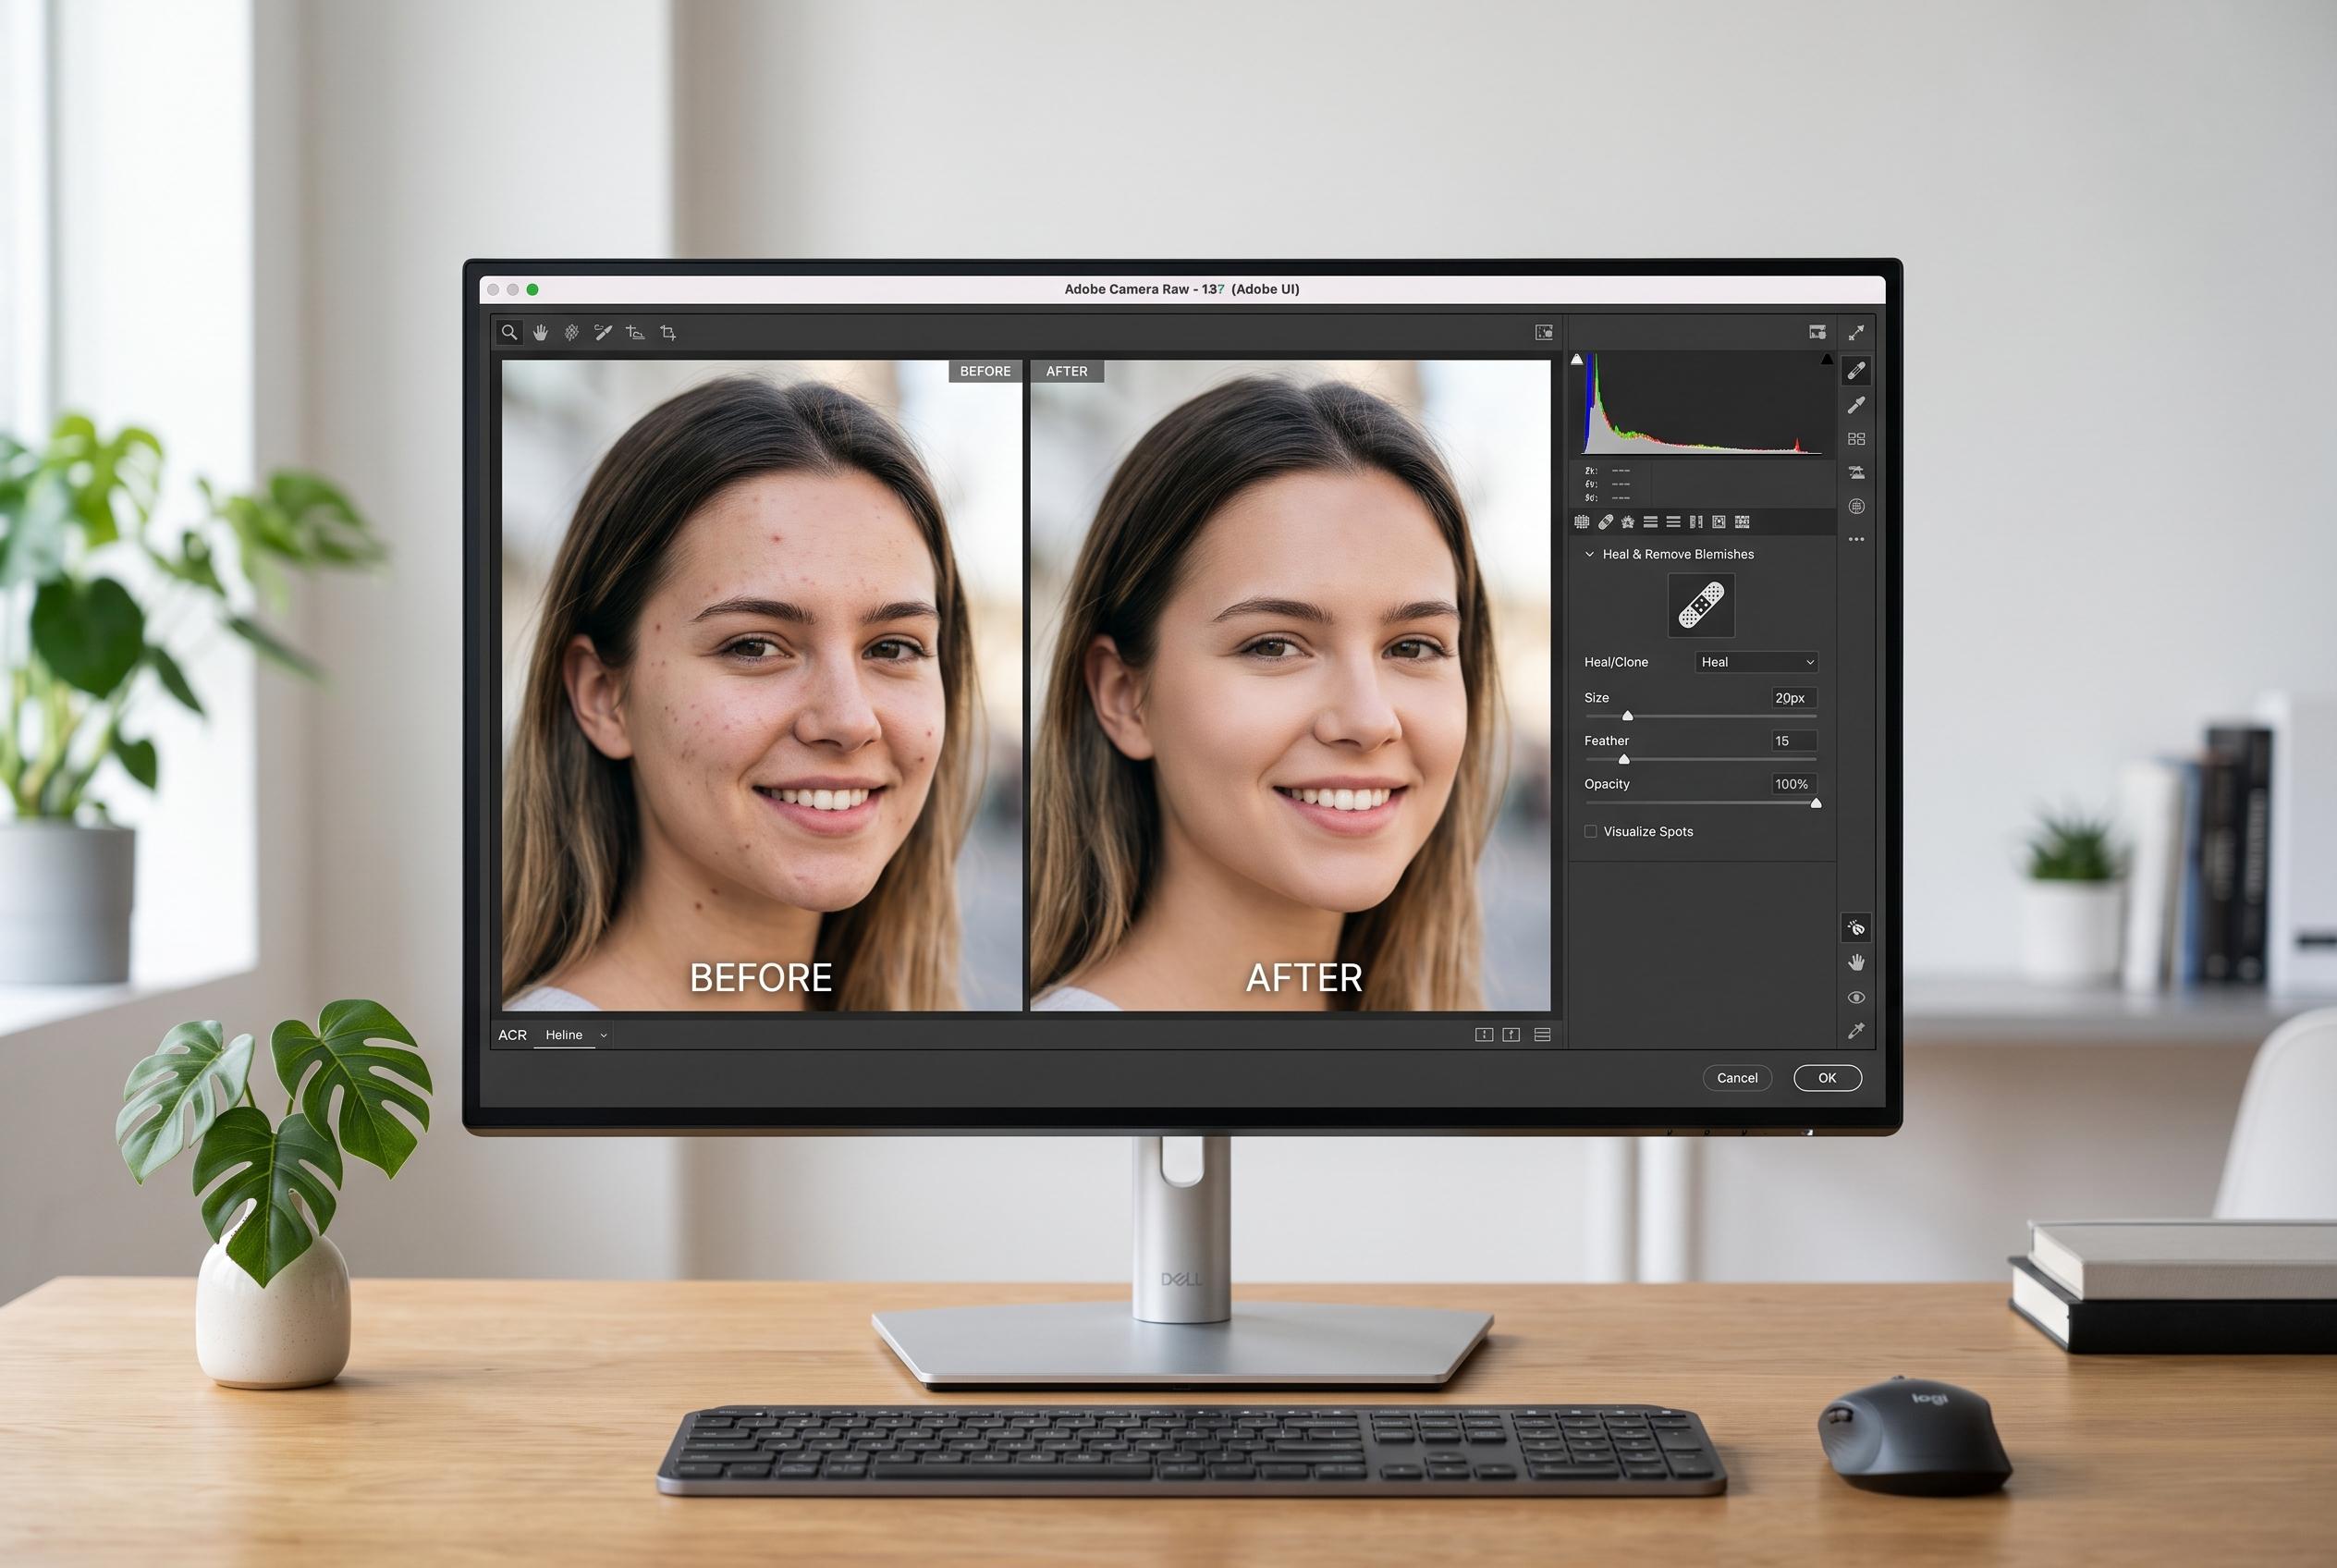

Adobe’s latest blemish removal feature in Camera Raw enables users to achieve natural-looking retouching with a simple, customisable, and non-destructive approach, highlighting a shift towards more subtle AI-powered editing.
Adobe Camera Raw’s new blemish removal tool is designed to do less, not more, and that restraint may be its strongest feature. In a tutorial for Fstoppers, Anthony Morganti shows how the tool can clean up skin in seconds while avoiding the overprocessed look that often makes portrait retouching obvious. The appeal is not just speed. It is the fact that the first pass is subtle enough to preserve texture, leaving the editor to decide how far to go.
The tool sits inside Camera Raw’s removal section under distraction removal, where Adobe has grouped its newer repair features. With a single checkbox, the software analyses the face and removes blemishes automatically. Morganti demonstrates that the edit can look almost invisible at first glance, but the refine view reveals how much work has been done. Two sliders govern the result: amount controls how much original texture is brought back, while fade can soften or restore longer-term features such as moles and scars. That makes the tool more flexible than a simple one-click fix.
Morganti also spends time on the refine brush, which is where the workflow becomes more precise. Restore works as a negative brush, bringing back original detail where the AI has gone too far. Remove lets the editor paint in anything the software missed. He also shows the feature on non-raw files through the Camera Raw filter in Photoshop, and warns against applying it straight to the background layer because that makes the change permanent. His preferred method is to duplicate the layer, convert it for smart filters and keep the edit fully reversible.
That non-destructive approach matches Adobe’s own guidance. The company’s help pages say Camera Raw’s repair tools can work with generative AI or with sampled content, and that raw edits are stored separately rather than baked into the file. In practice, that means portrait retouching can stay editable long after the first pass is complete. Morganti extends the lesson by showing how Camera Raw recognises multiple faces in a frame and lets the user work on each one separately, a useful detail for group portraits and event photography.
Beyond blemishes, he covers a broader portrait workflow that includes skin, eyebrows, eyes, lips, teeth, hair and clothing. He also explains how to tame shine with tonal controls when there is no dedicated slider, and notes that some eye colours, particularly brown, are harder to bring out cleanly. The broader point is that Adobe’s newer AI tools work best when they are treated as a starting point rather than a final answer. For photographers who want skin to look natural, that is a sensible design choice.
Disclaimer: This content is intended for informational purposes only. Readers are advised to exercise their own judgement, conduct due diligence, or consult a qualified expert before acting on any information provided.