
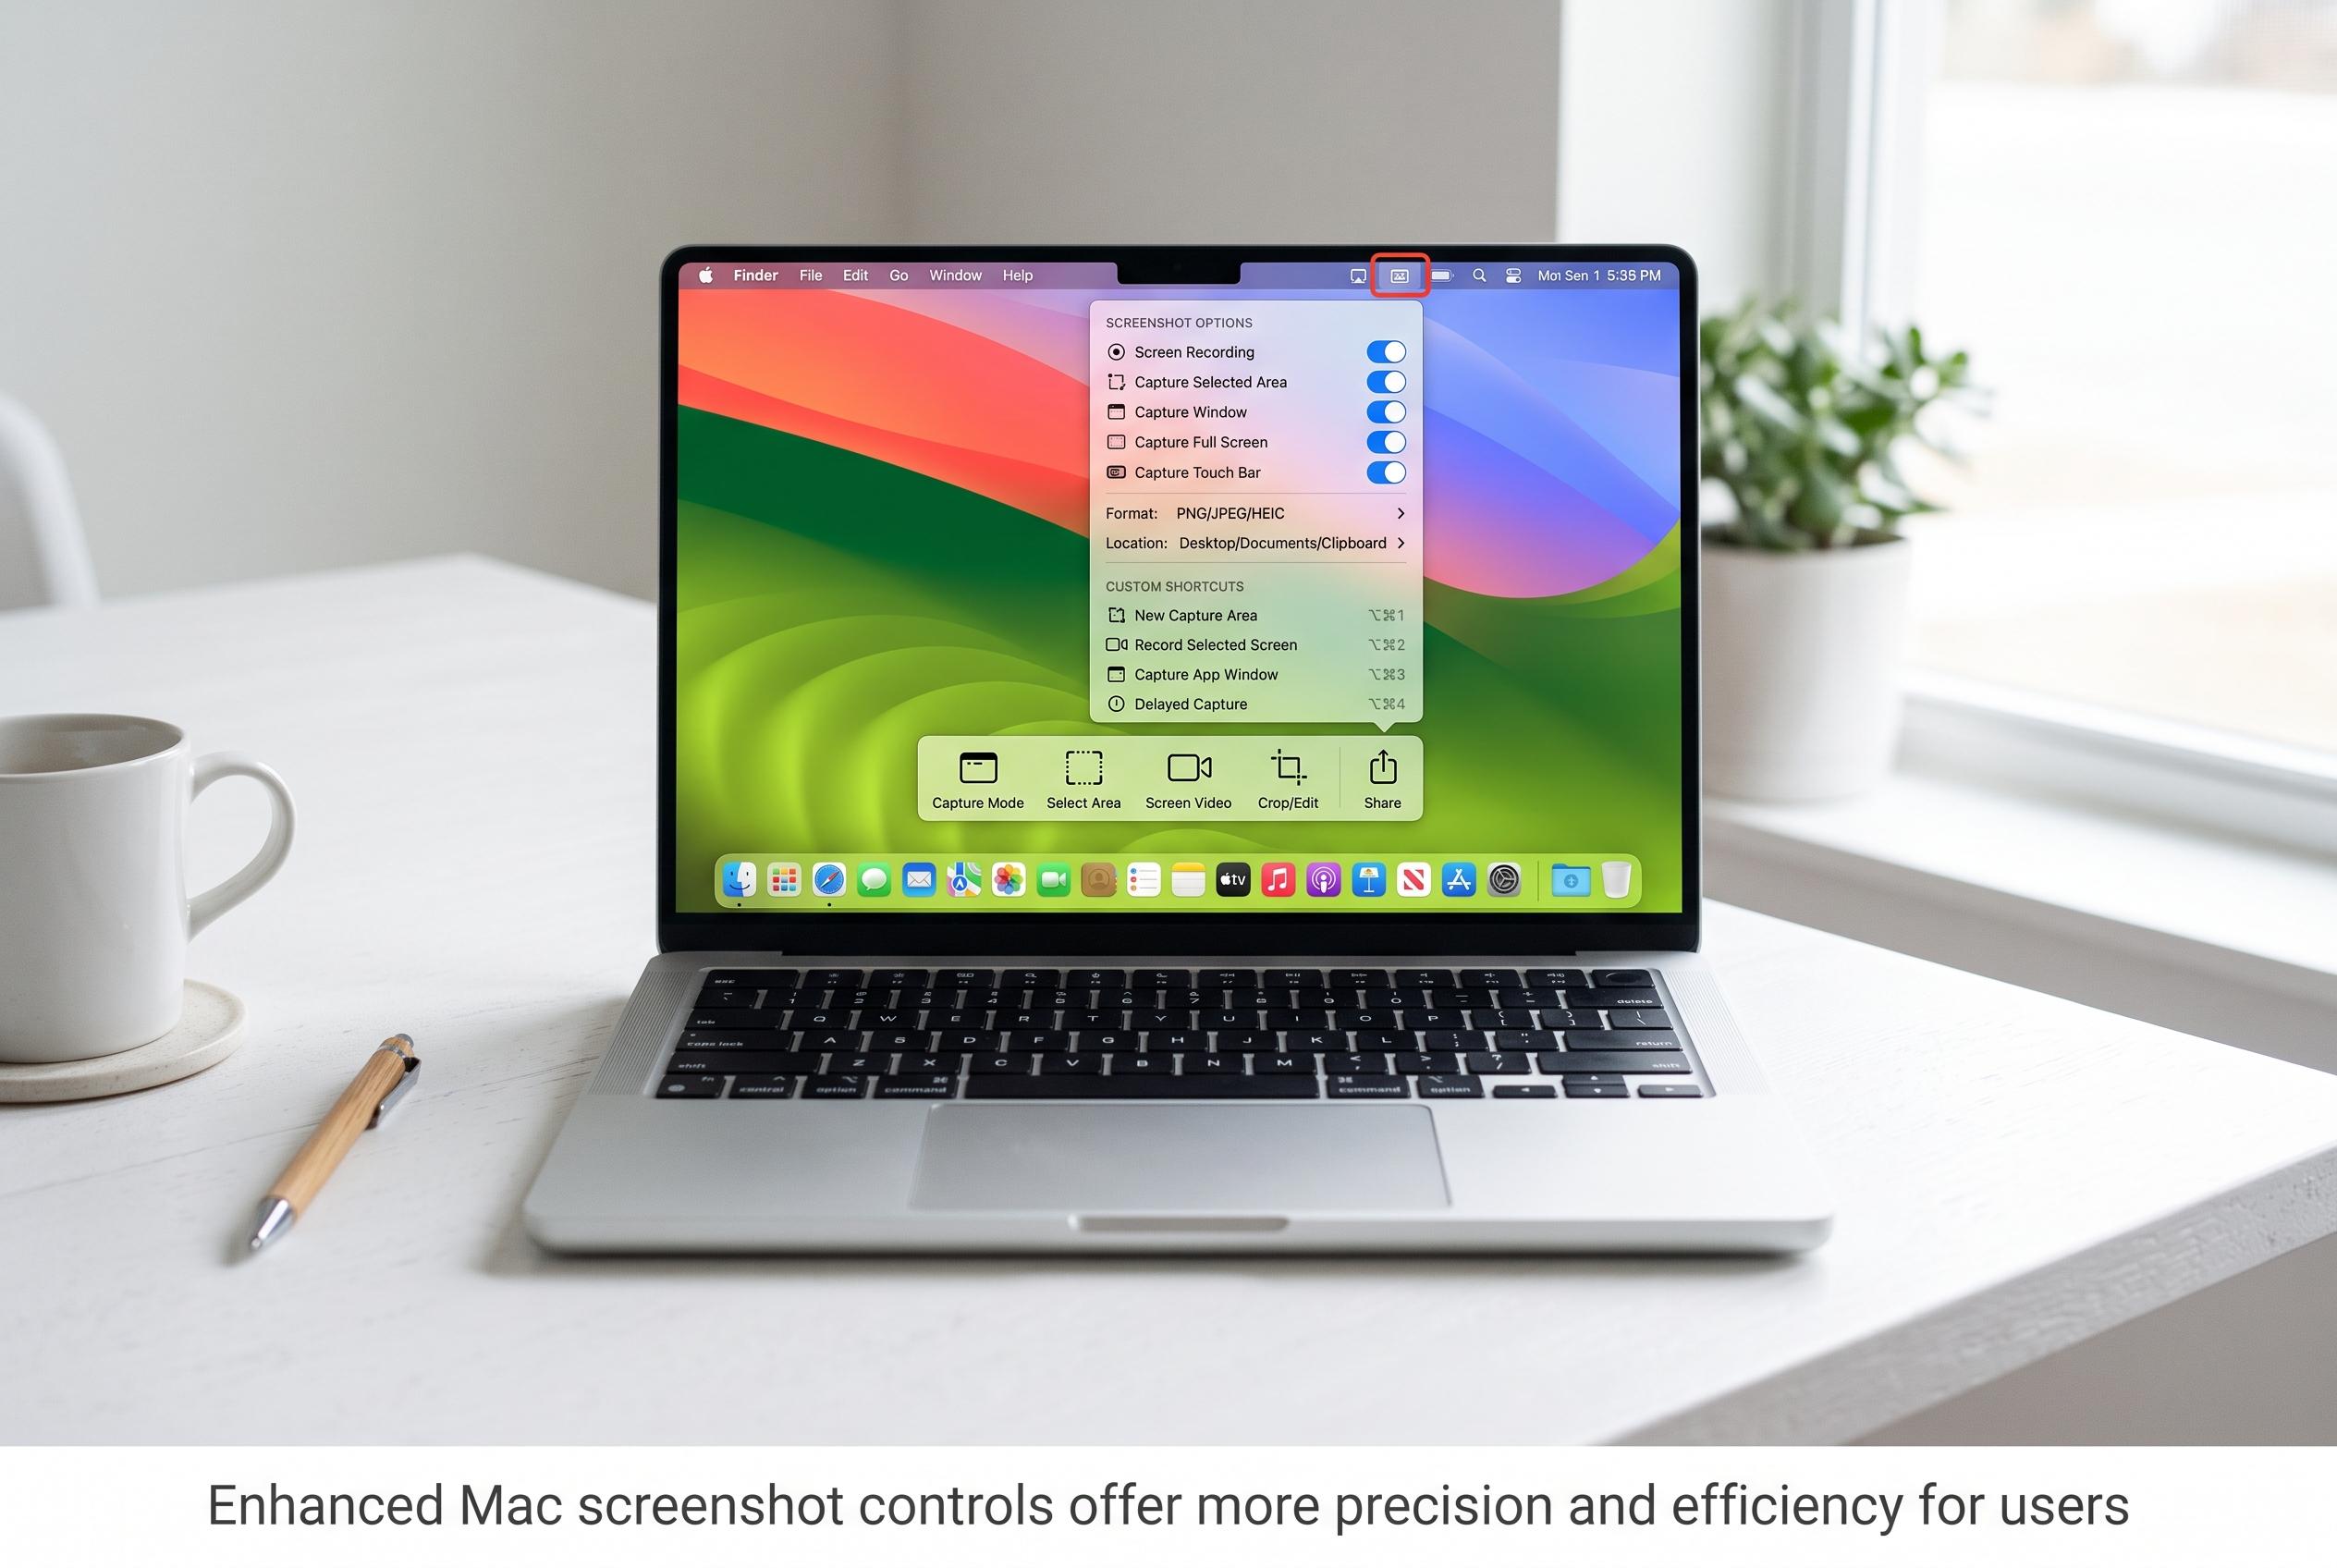

Apple’s built-in screenshot tools on the Mac now provide advanced options, including improved control over capture methods, file organisation, and recording features, transforming user workflows with customisable shortcuts and settings.
Apple’s built-in screenshot tools on the Mac are now capable enough for most users, and the strongest reason to learn them is not just convenience but control. The system can capture full screens, selected areas and individual windows, and it can also record the display for quick demonstrations or more polished screencasts. Apple’s support guidance and the Lifehacker guide agree that the key to getting more from the feature set is knowing where the shortcuts lead, rather than relying on the default desktop dump. According to Apple, the screenshot panel also lets users change where files are saved and copy captures straight to the clipboard.
One of the most practical habits is to send screenshots straight to the clipboard instead of saving every image as a file. By adding the Control key to the usual capture shortcuts, users can copy the image and paste it immediately into email, chat or a document. That is especially useful for people who take many quick reference shots and do not want to manage a growing stack of files on the desktop. iDownloadBlog and MacRumors both describe this method, while Apple’s own support page confirms the clipboard option.
For users who do save screenshots, changing the default folder is a simple way to avoid desktop clutter. Apple’s screenshot toolbar, opened with Shift-Command-5, includes an Options menu where a new location can be selected. MacRumors and Macworld note that this can point to any folder, which makes it easier to keep related images together for a project or support case. The same toolbar can also be used as the main control centre for most of macOS’s capture and recording functions.
A more refined capture can be useful when recording one window at a time. The Mac adds a shadow around single-window screenshots by default, which looks polished in some settings but can be distracting in documentation. The Lifehacker guide says users can remove that effect with a modifier key while clicking a window, or disable it through Terminal for a permanent change. That is a small adjustment, but it matters when the goal is clean, technical imagery rather than a presentation-style image.
The same screenshot panel also supports time delays, mouse-click indicators and microphone input for screen recordings. Those options are valuable when making step-by-step demonstrations because they give the user a few seconds to arrange the screen, show exactly where they clicked and add spoken explanation in the recording. Lifehacker also points out that a Mac can be used to record an iPhone’s screen, either through iPhone Mirroring on newer setups or through QuickTime Player with a USB connection. That makes the Mac a useful fallback when an app or device limits what can be captured directly.
There is one trade-off worth noting: Apple’s default PNG screenshots preserve quality, but they can consume significant storage, especially on high-resolution displays. Lifehacker says users can change the default format to JPG through Terminal to reduce file size, though the result is weaker text clarity and lower overall fidelity. For most people, the better approach is to keep PNG for accuracy and use JPG only when file size matters more than detail.
Disclaimer: This content is intended for informational purposes only. Readers are advised to exercise their own judgement, conduct due diligence, or consult a qualified expert before acting on any information provided.